Prerequisites
- Fresh machine with Ubuntu 24.04 LTS (other Linux OS may work as well, but not tested). We do not recommend using machines that have other services running except you understand what you are doing.
- System Requirements:
- Broadband internet connections
| CPU | RAM (GB) | Storage (GB) | Remarks | |
|---|---|---|---|---|
| Minimum Requirements For trial deployments | 8 | 16 | 100 | Swap memory activation required |
| Standard Requirements For production environments and continuous development | 8 | 32 | 250 | No need swap memory |
Installation Steps
First, you need to clone the repository: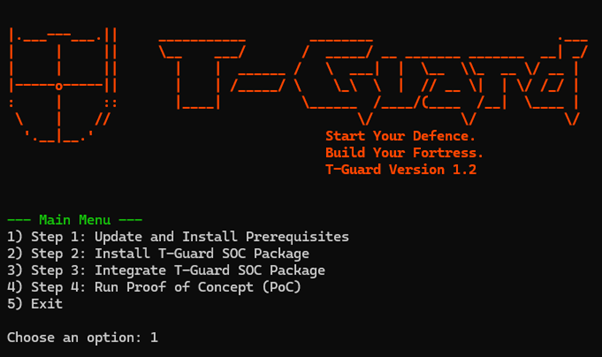
Step 1: Update System and Install Prerequisites
In the Main Menu, type ‘1’ and press Enter. This will update existing packages, install all necessary dependencies, and set up Docker. Wait for the process to complete and it will then return to the Main Menu.Step 2: Install T-Guard SOC Package
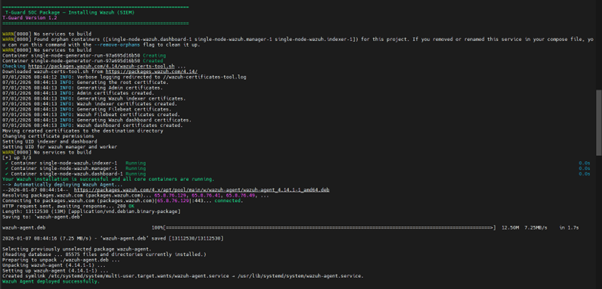
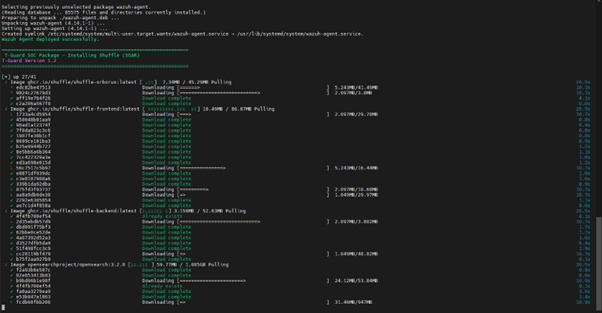
In the Main Menu, type ‘2’ and press Enter. You’ll see a menu to choose the current network environment of your system for installing T-Guard, as shown in Figure 2.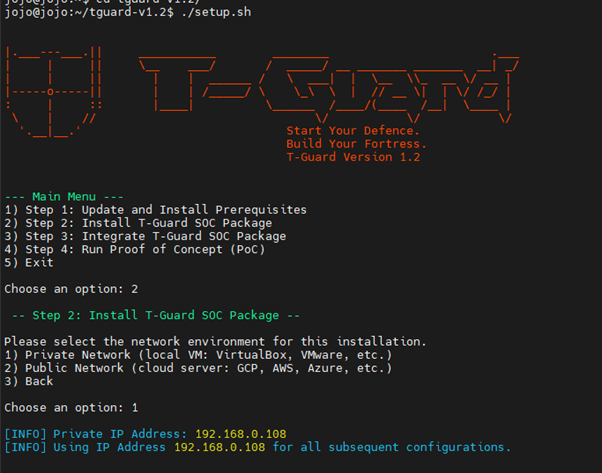


.png?fit=max&auto=format&n=drHFaNd1sEsBAeon&q=85&s=cec2f9b61e362c49d4e81fb2ba6f2905)
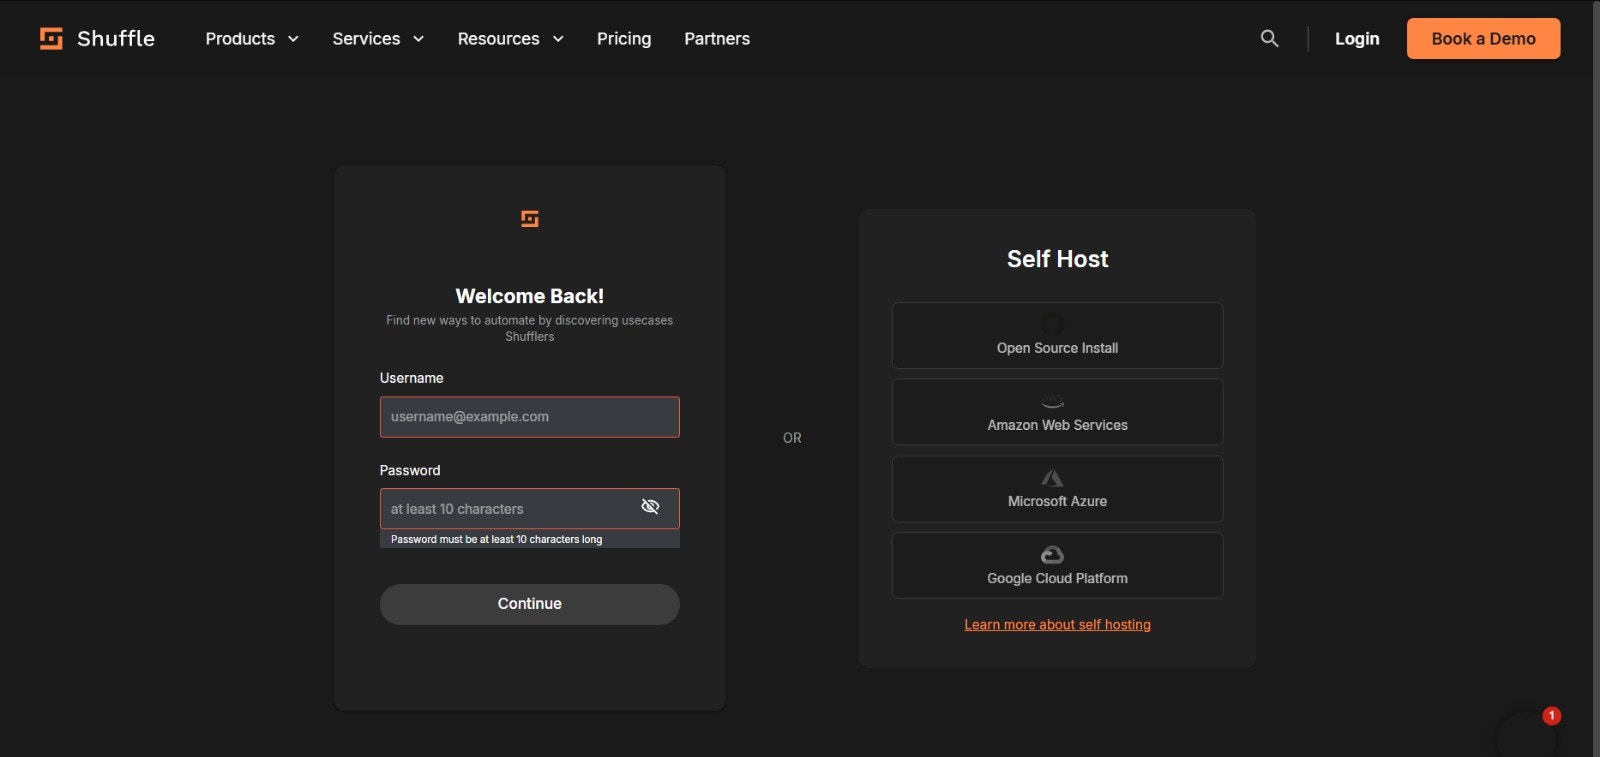
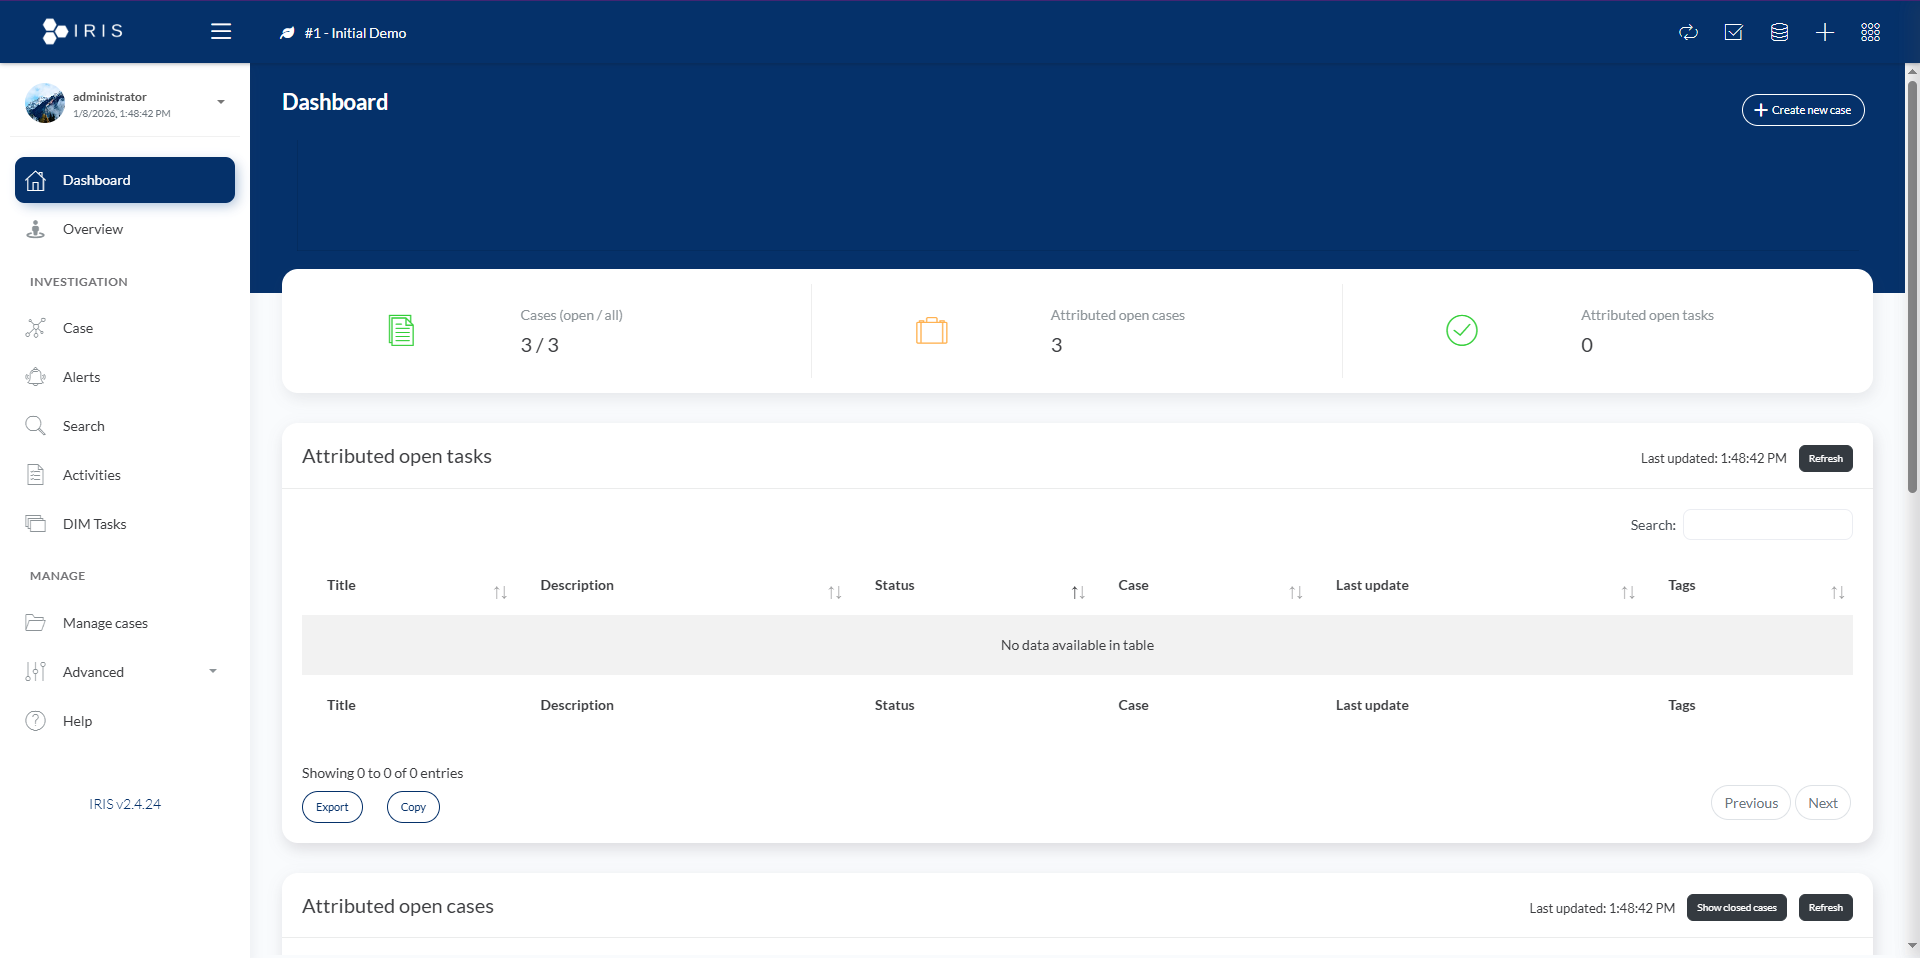
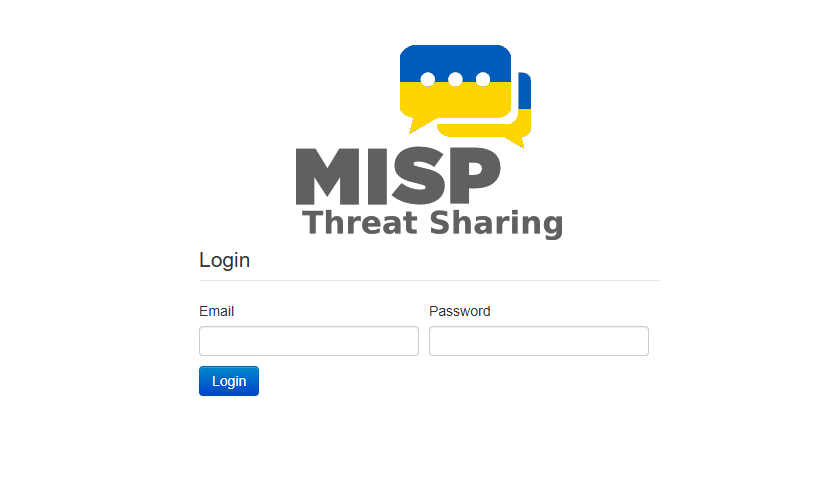
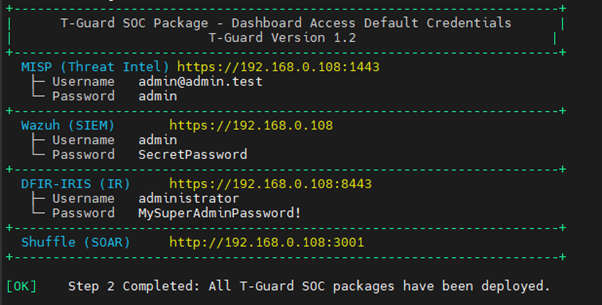
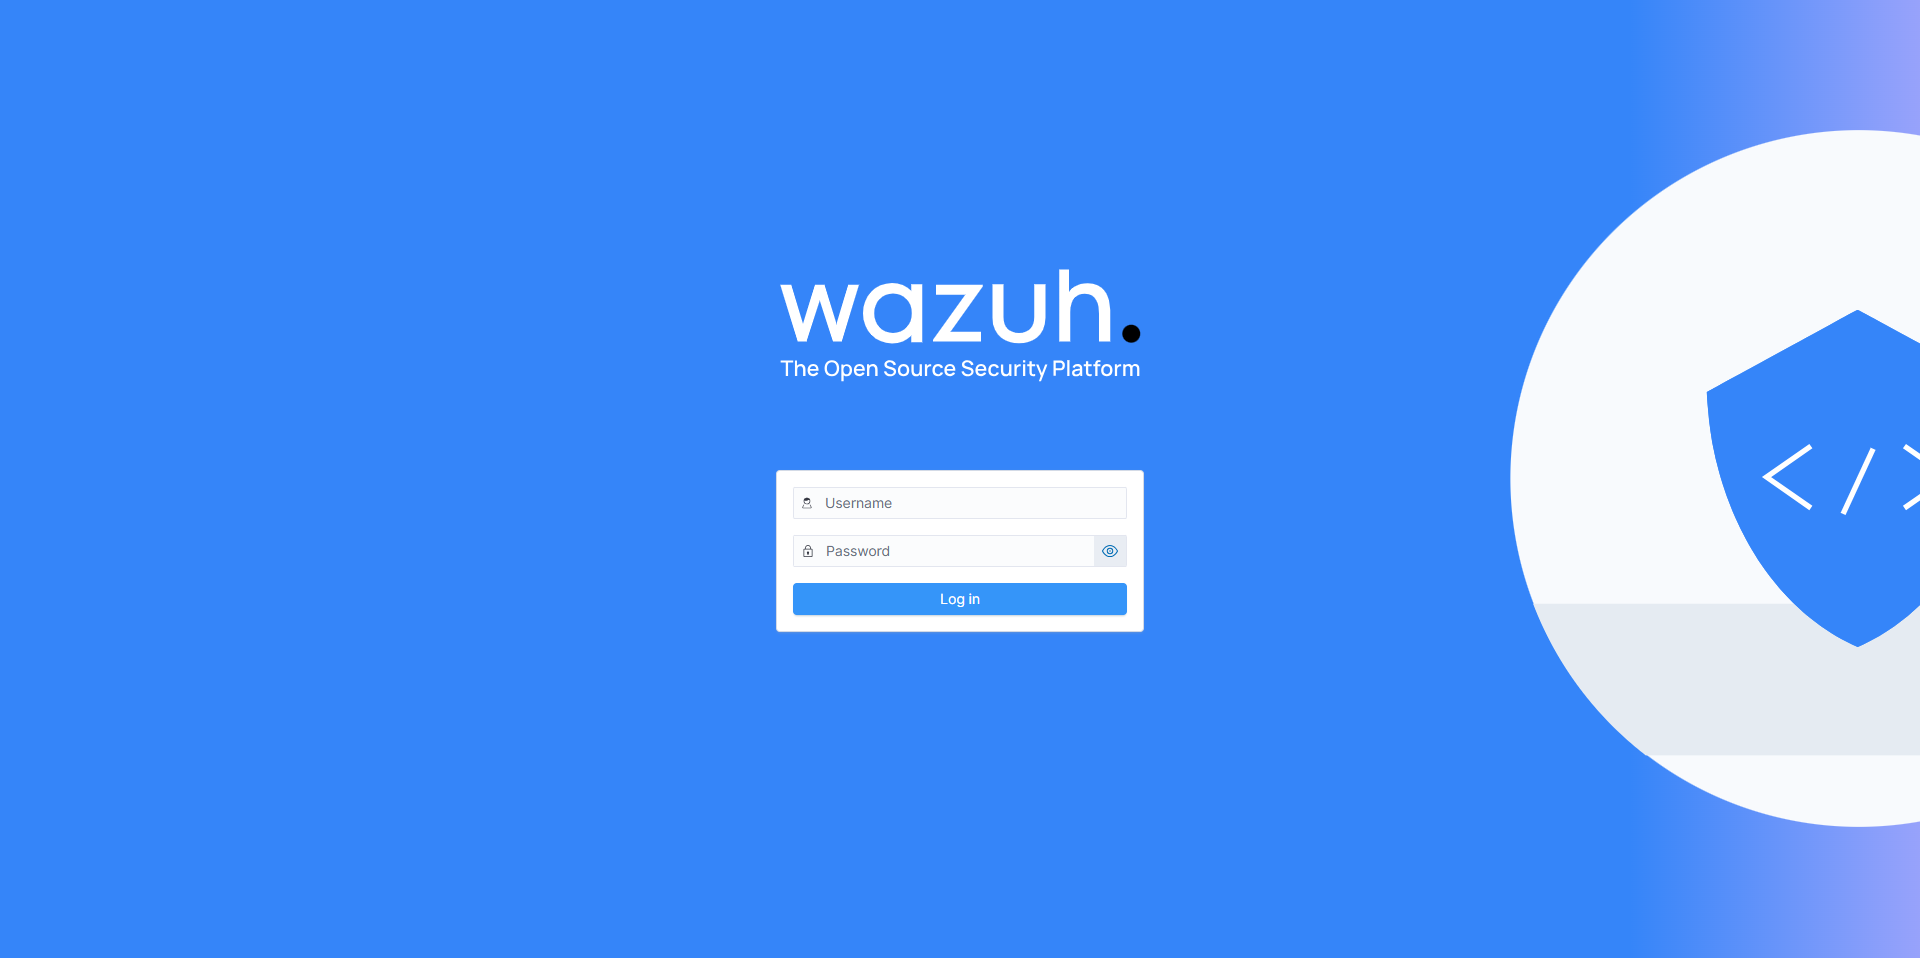
Credential Summary – T-Guard Modules
| Service | Web Interface | Username | Password |
|---|---|---|---|
| Wazuh | https://<ip> | admin | SecretPassword |
| DFIR-IRIS | https://<ip>:8443 | administrator | MySuperAdminPassword! |
| Shuffle | http://<ip>:3001 | Create your own | Create your own |
| MISP | https://<ip>:1443 | admin@admin.test | admin |
Integration Steps
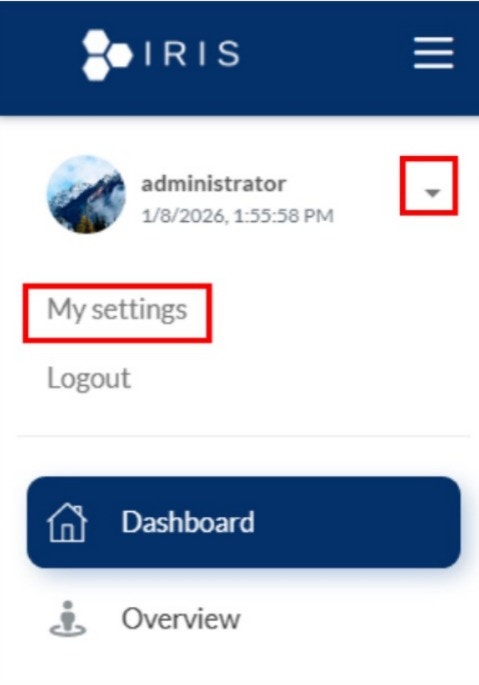
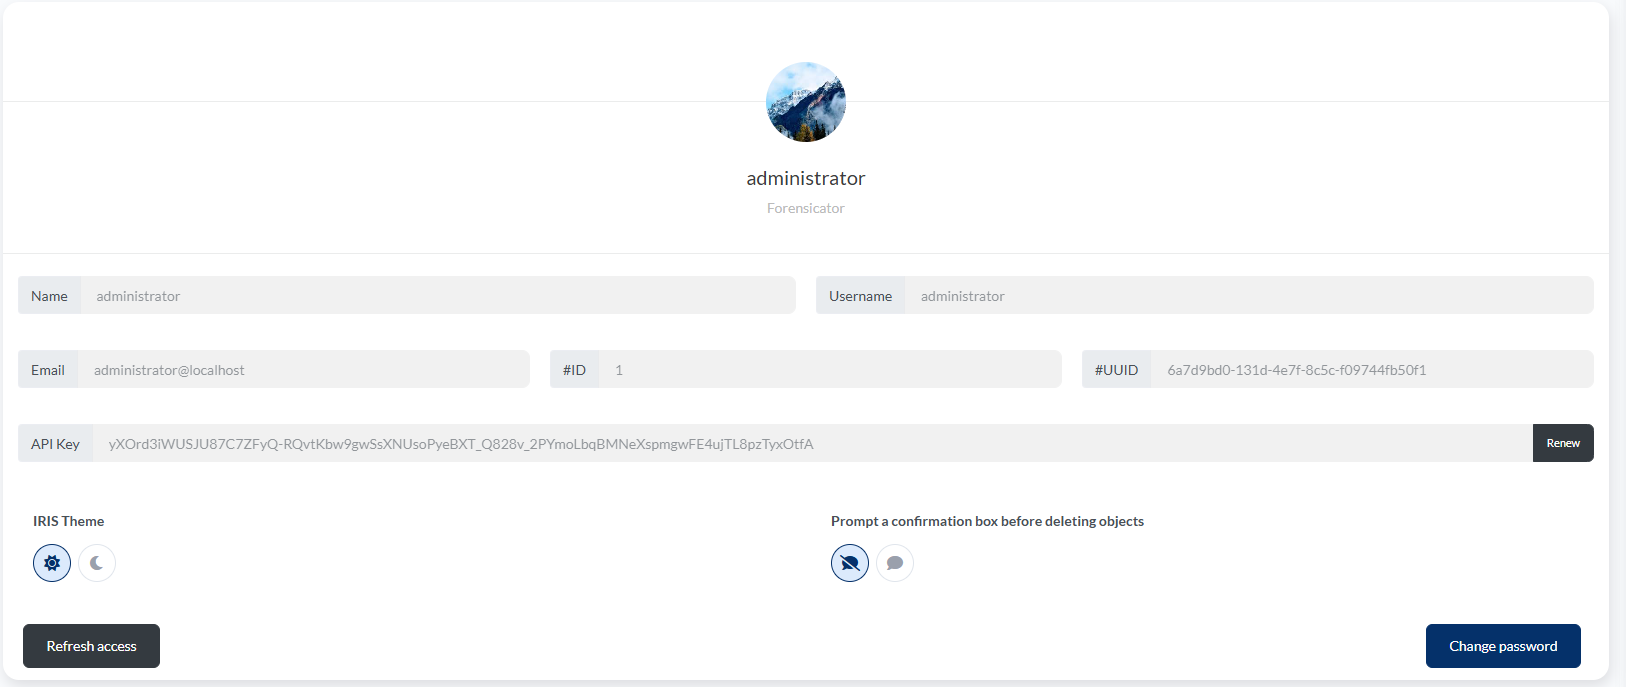
In the Main Menu, type ‘3’ and press Enter. The system will prompt you to enter the IRIS API key, as shown in Figure 14.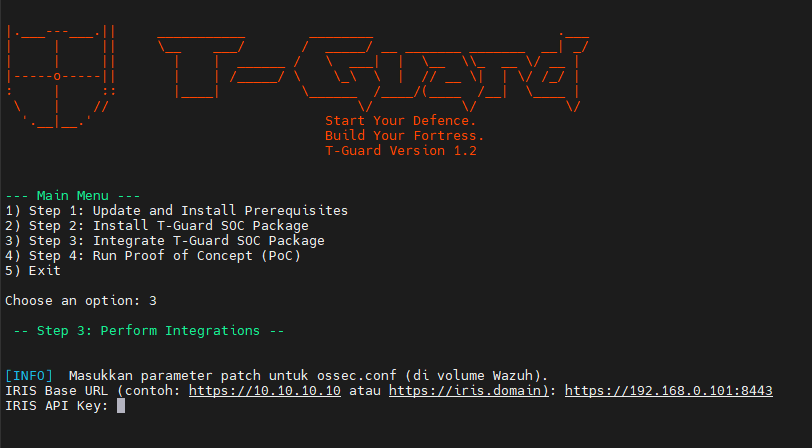

Shuffle Webhook URL
Then, you’ll be prompted to enter your Shuffle Webhook URL.
- Go to your Shuffle dashboard.
- Select Workflows.
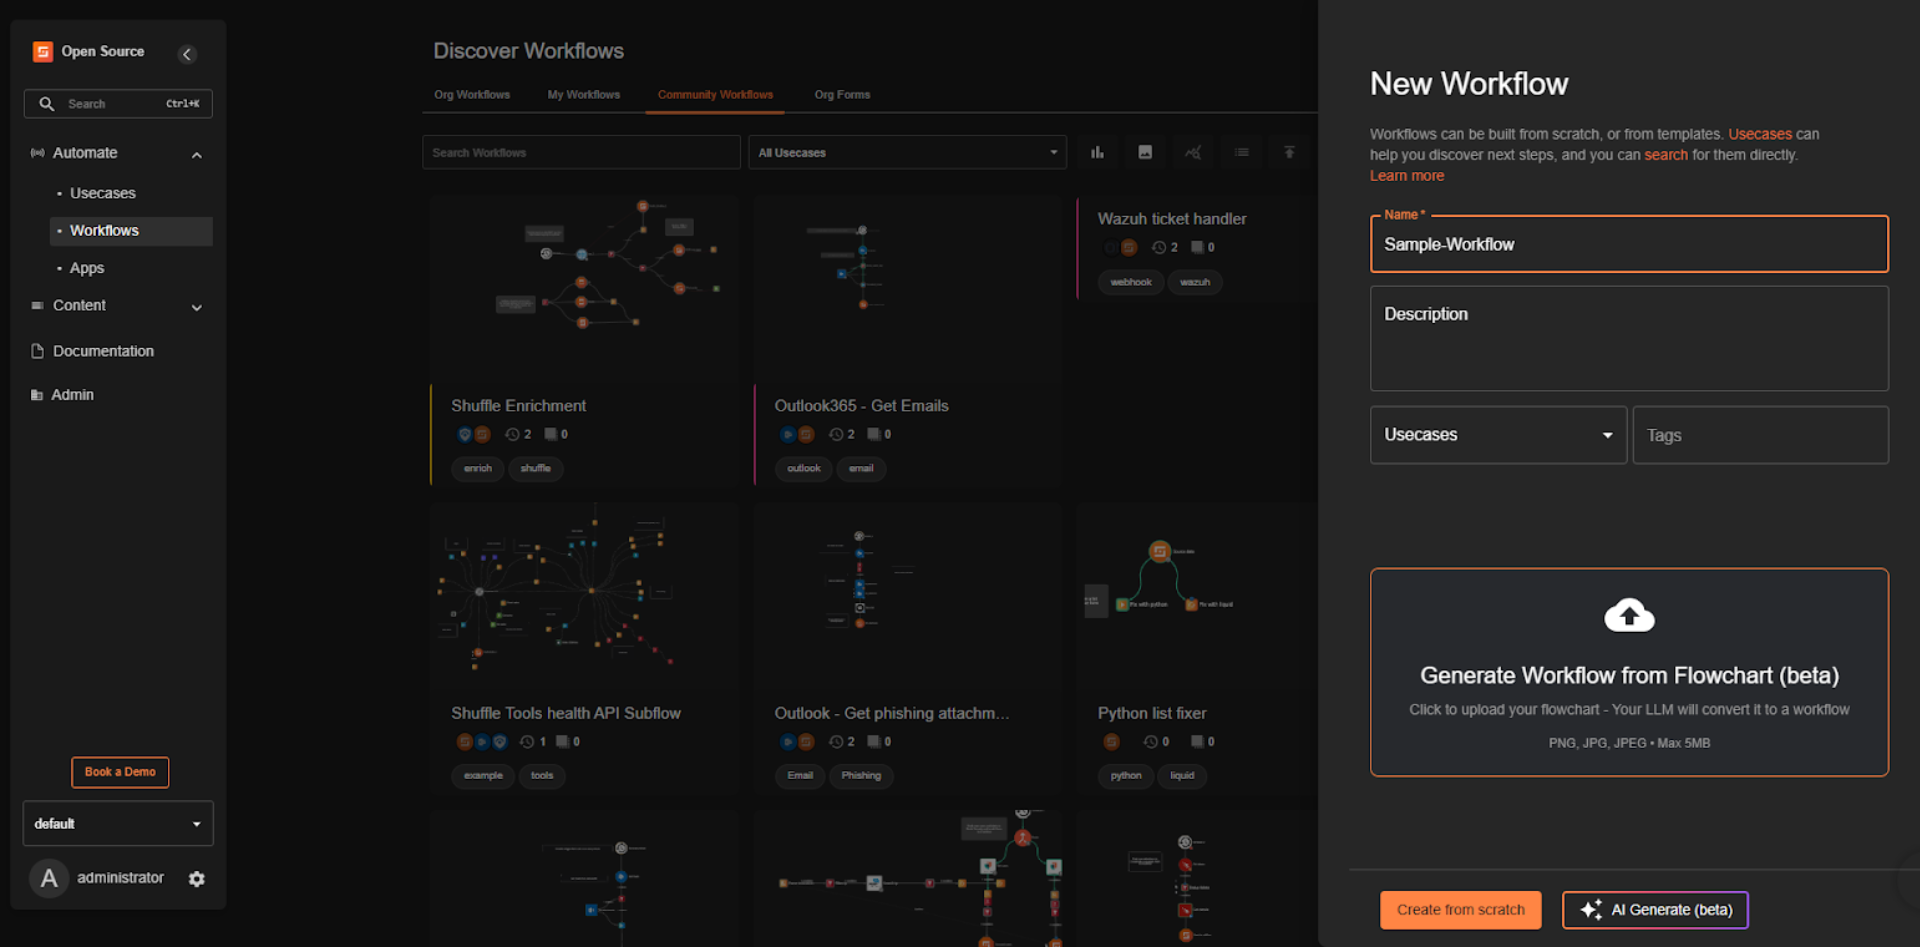
- Select Create Workflow.
- Specify your preferred workflow name—for example, Sample workflow — then select Create from scratch.
- In the left panel, under the Triggers tab, drag the Webhook icon to the middle panel as illustrated below.
Step 1: Create a New Workflow

Step 2: Select Create from Scratch
Step 3: Add Webhook Trigger
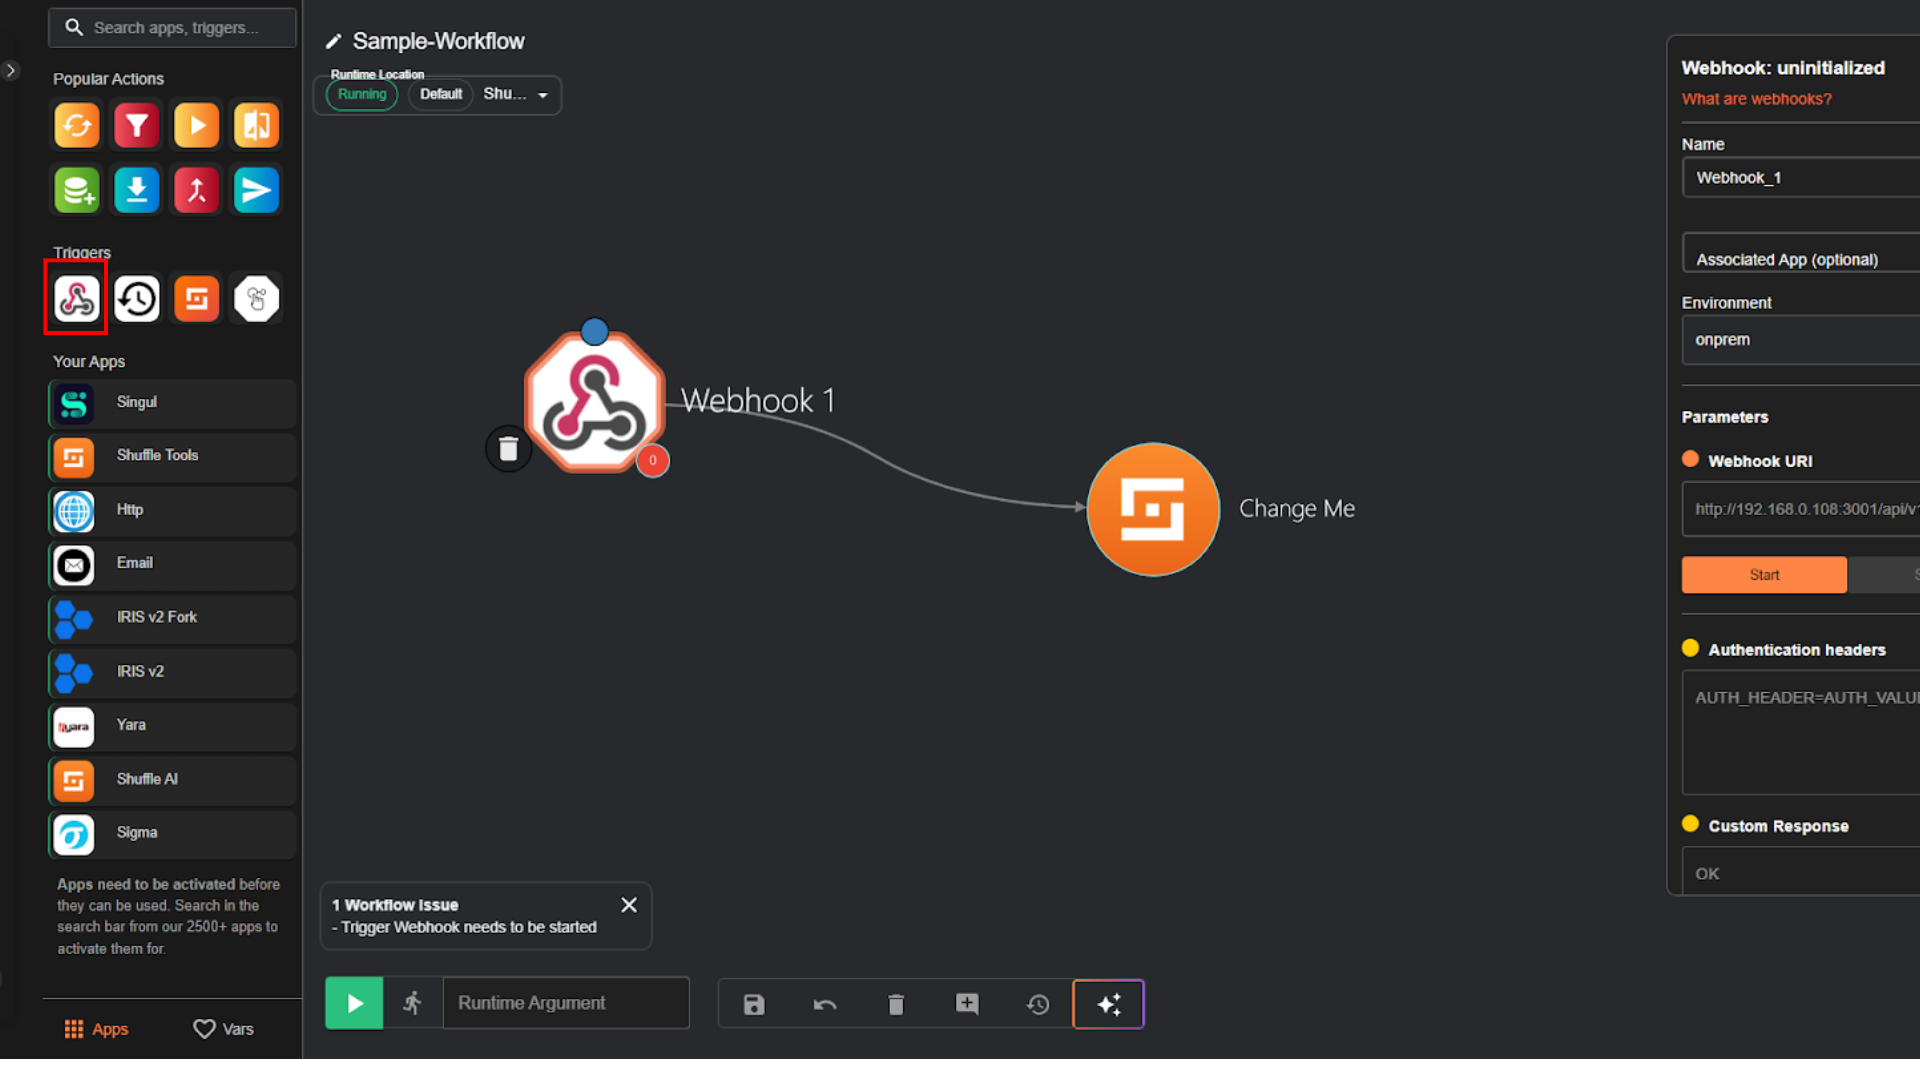
- Click on Webhook module, then it will show up the configuration panel on the right.
- In the “Webhook URL” parameter, manually copy the URL by highlighting it until the end of the url, then press Ctrl+C.
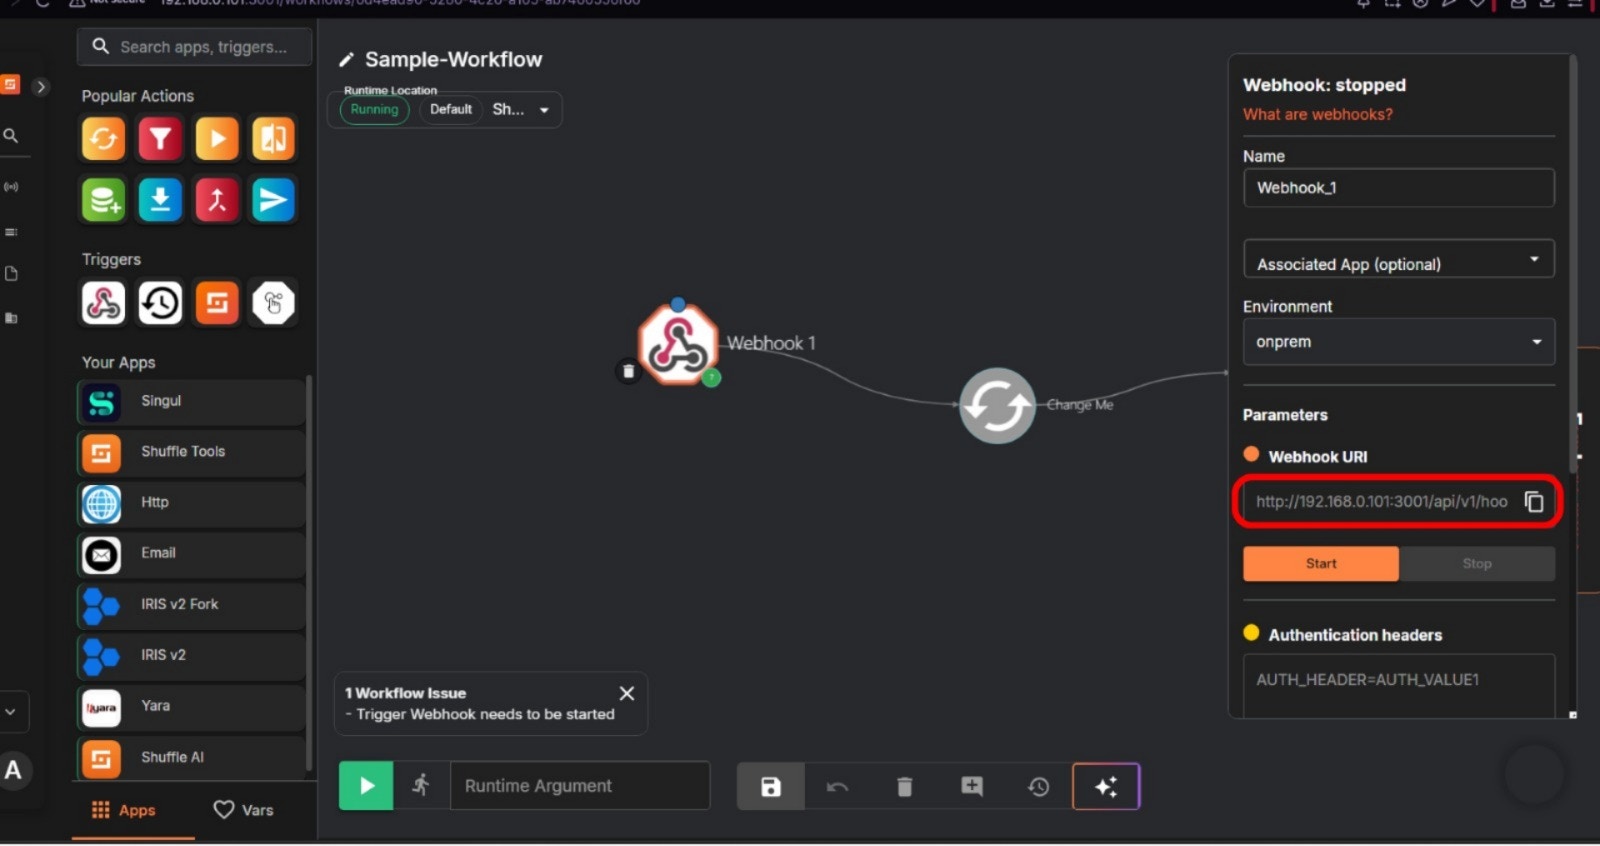
- Paste it to the installation terminal, then press Enter. Wait until the process is finished.
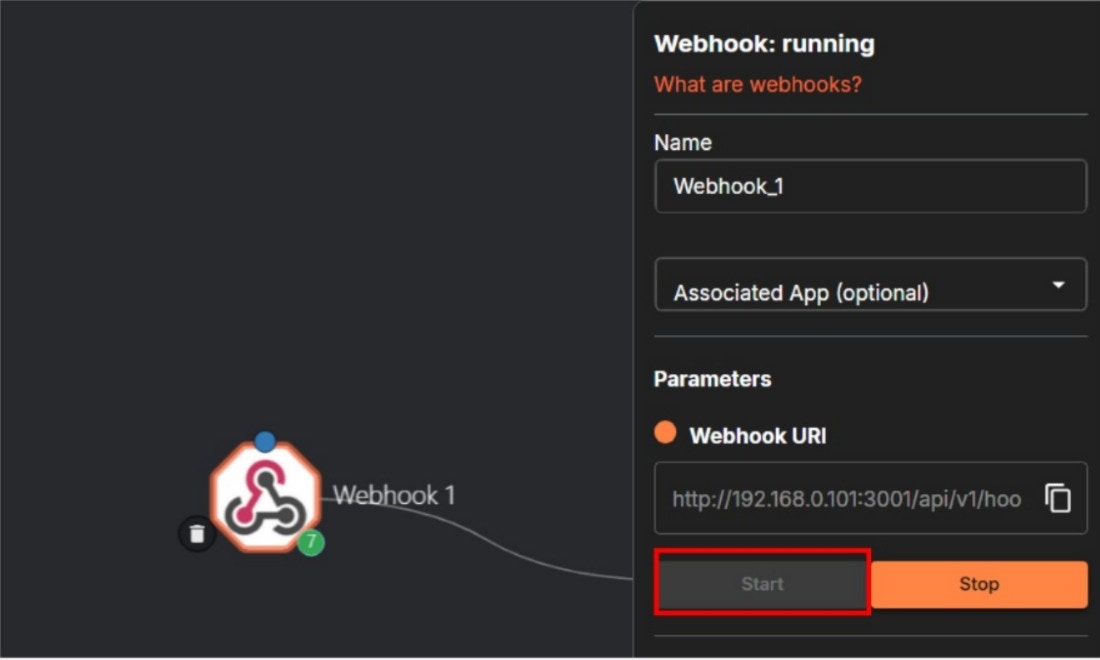
- Go back to the Shuffle, click the Start button as illustrated below.
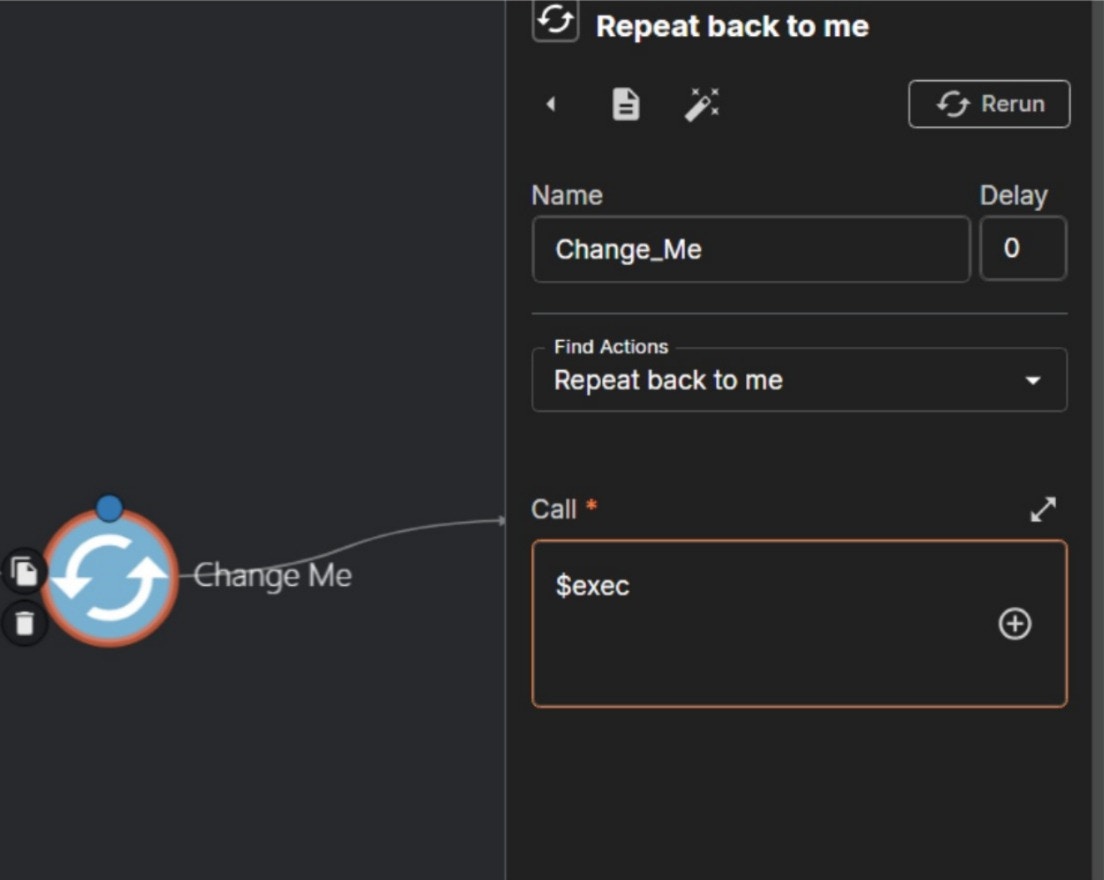
- Next, select the Shuffle module in the middle panel, then it will show up the configuration panel on the right.
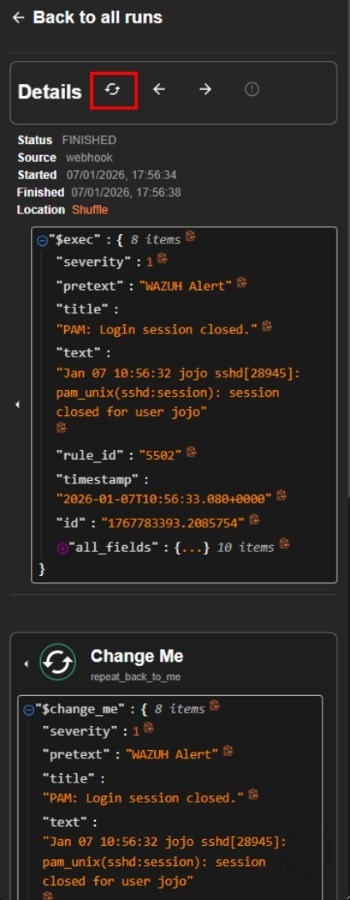
- In the “Find Actions” parameter, make sure to select ‘Repeat back to me’.
- In the “Call” parameter, change the value to
$exec, then click the Save button, as illustrated below.

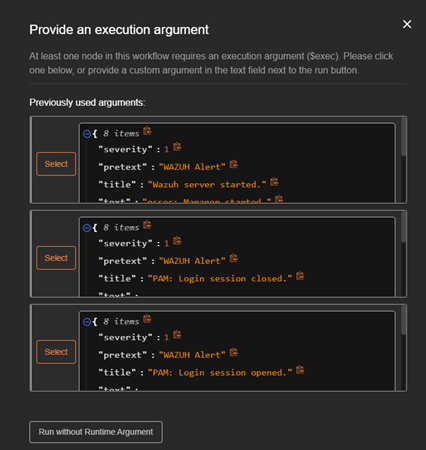
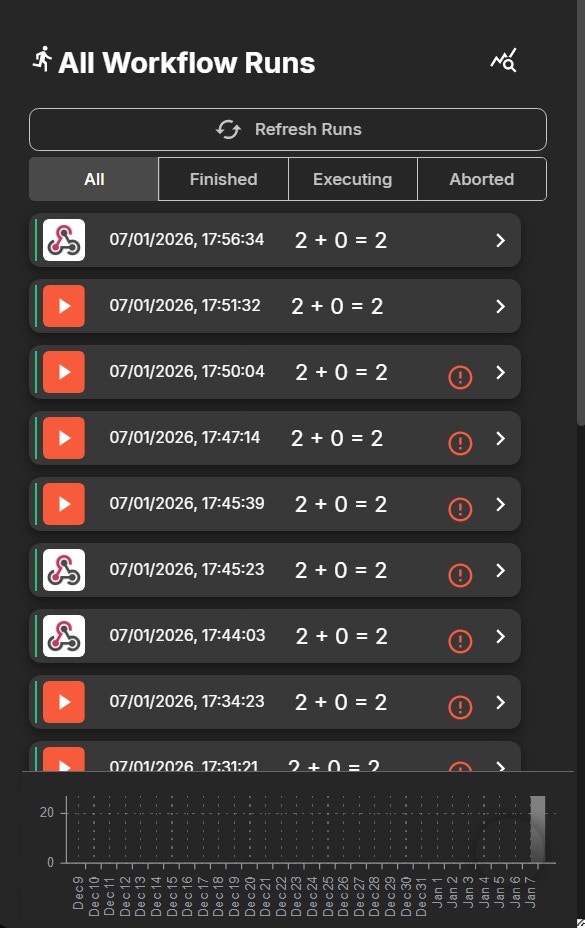
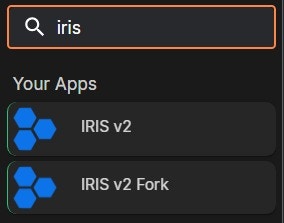
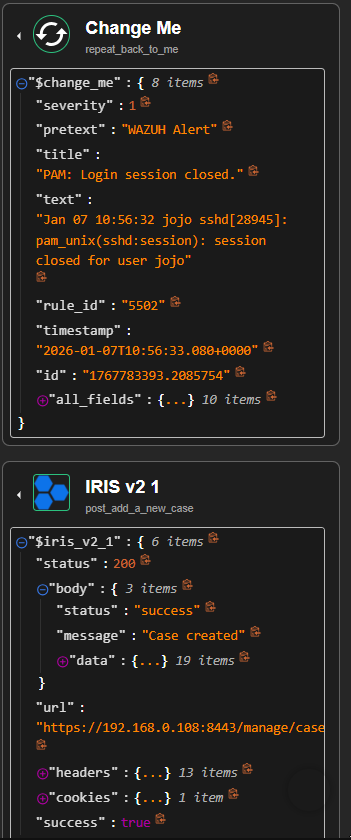
- Find Actions: Add a new case
- Apikey: (insert your IRIS API Key)
- Url: (your IRIS url)
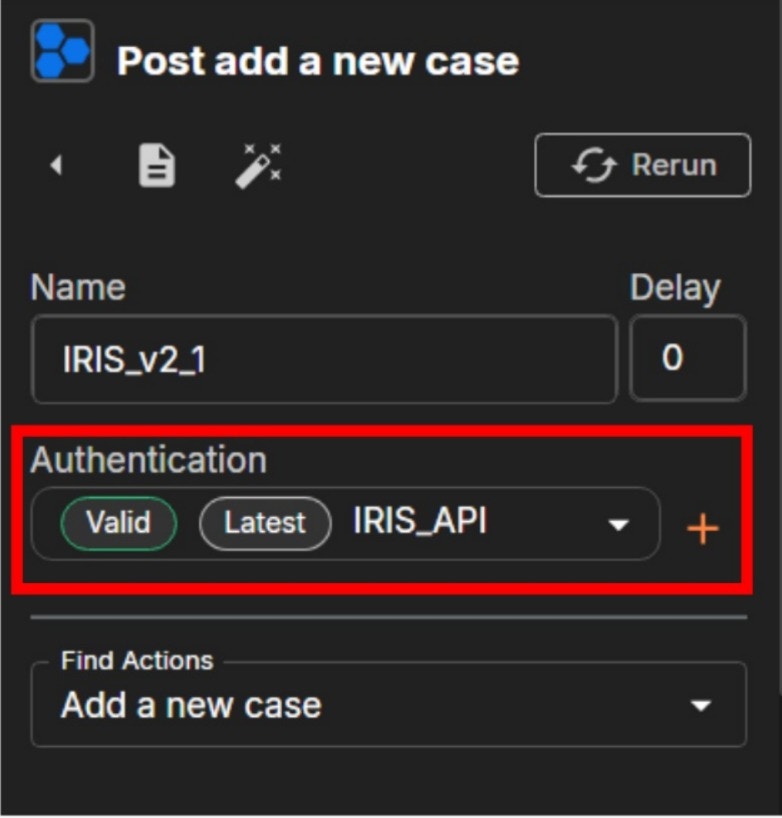
Configure IRIS Authentication
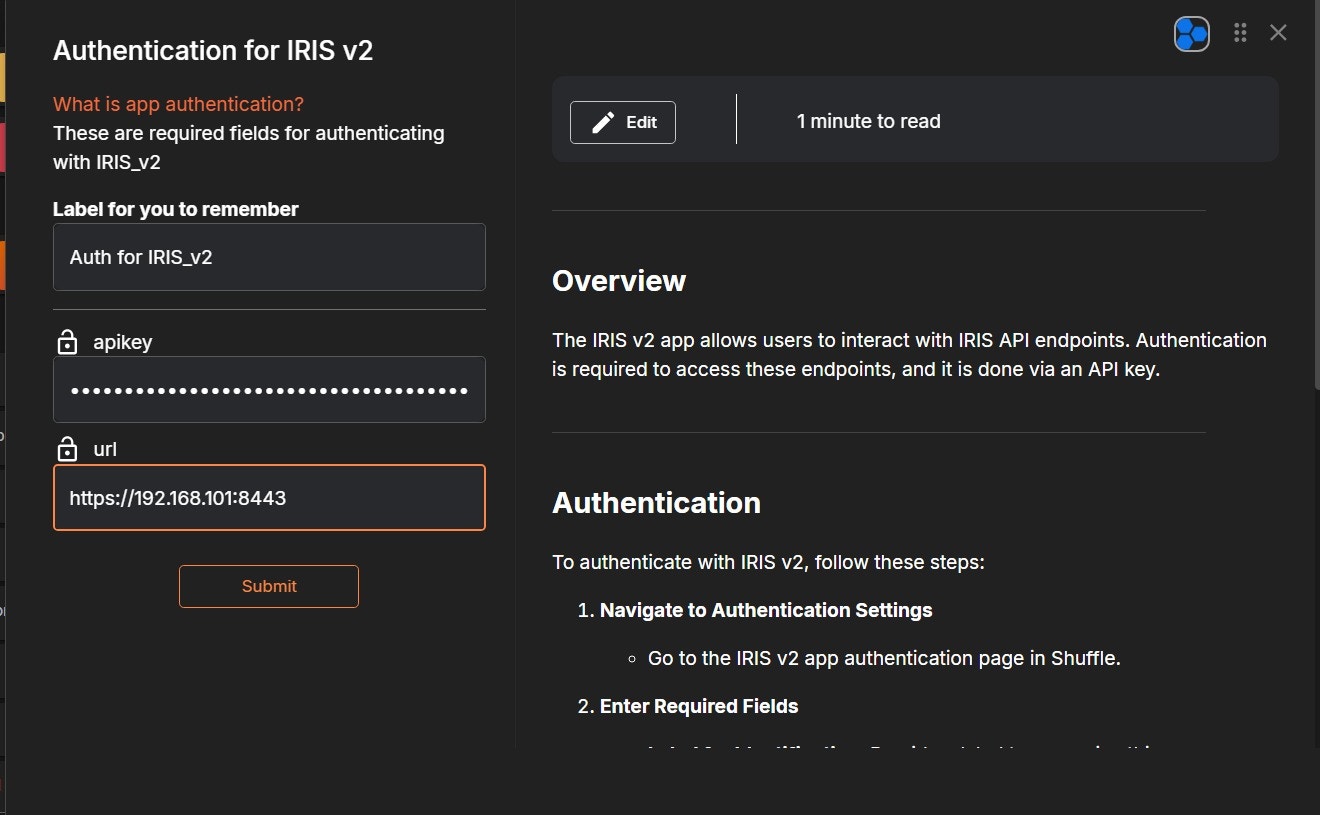
- In the Shuffle workflow editor, click the IRIS module.
- Locate the Authentication section.
- Click the
+(Add Authentication) button. - Select IRIS_API as the authentication type.
- Fill in the required fields:
- API Key: Paste your IRIS API Key
- URL: Enter your IRIS base URL (for example:
https://192.168.101:8443)
- Click Submit.
- Ensure the authentication status shows Valid.
Configure IRIS Action
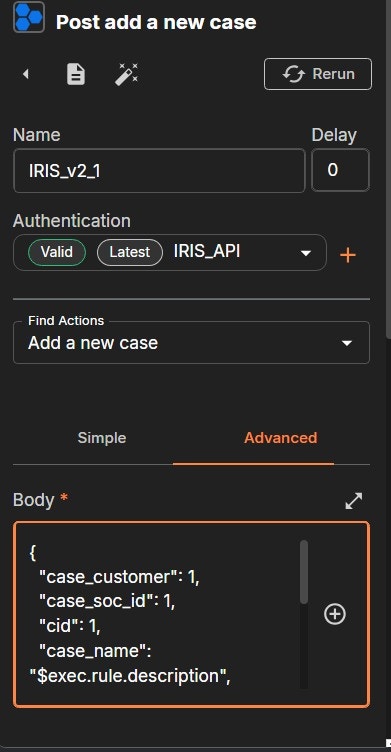
After authentication is successfully configured, continue with the action setup.- Under Find Actions, select Add a new case.
- Verify that the Authentication field is set to IRIS_API.
- Ensure the following parameters are filled:
- Find Actions: Add a new case
- Authentication: IRIS_API
- API Key: Automatically loaded from authentication
- URL: Automatically loaded from authentication
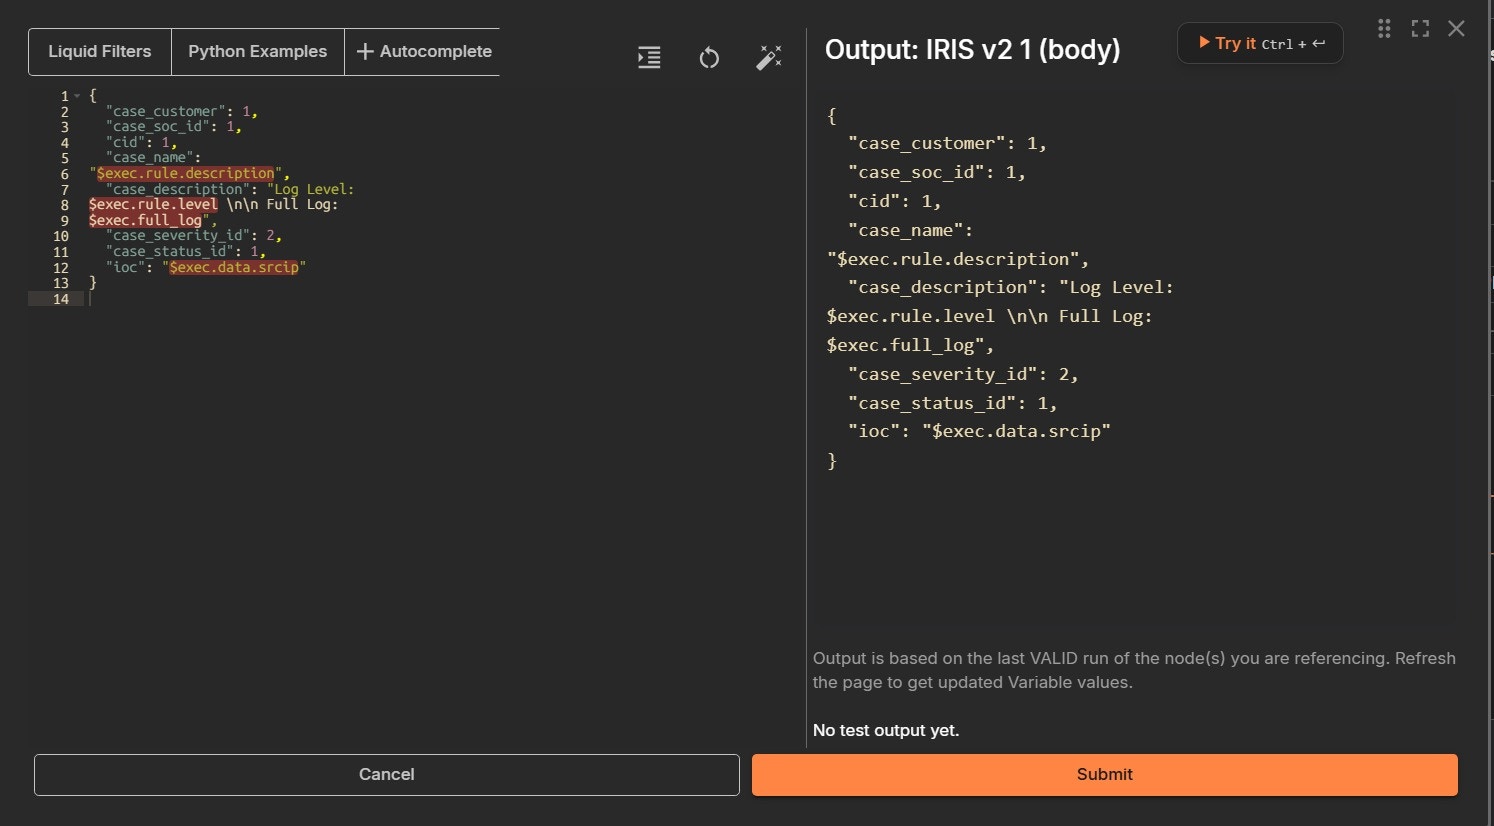
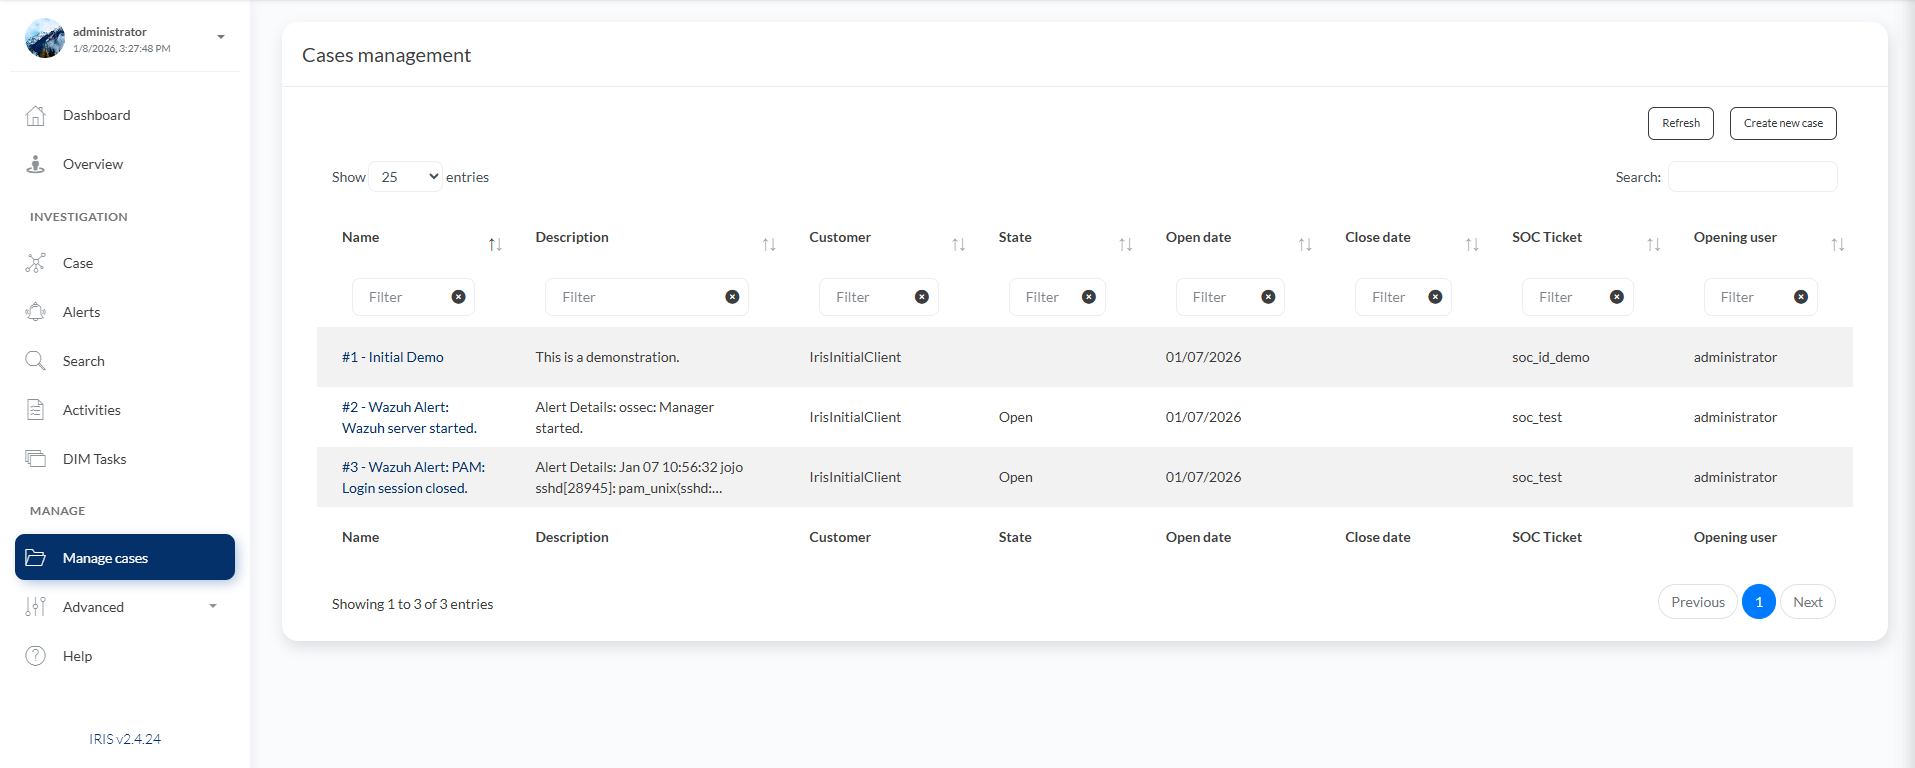
Choose the Advanced on the right side, and click the Expand Window Button.


Virus Total API Key
Then, you’ll be prompted to enter your VirusTotal API key. If you don’t have a VirusTotal account yet, please create one first in following URL: https://www.virustotal.com/ If you already have an account, log in, click your profile name, and select ‘API Key’ to view it. Copy and paste it to the installation, then press Enter. Wait until the process is finished.
MISP Configuration
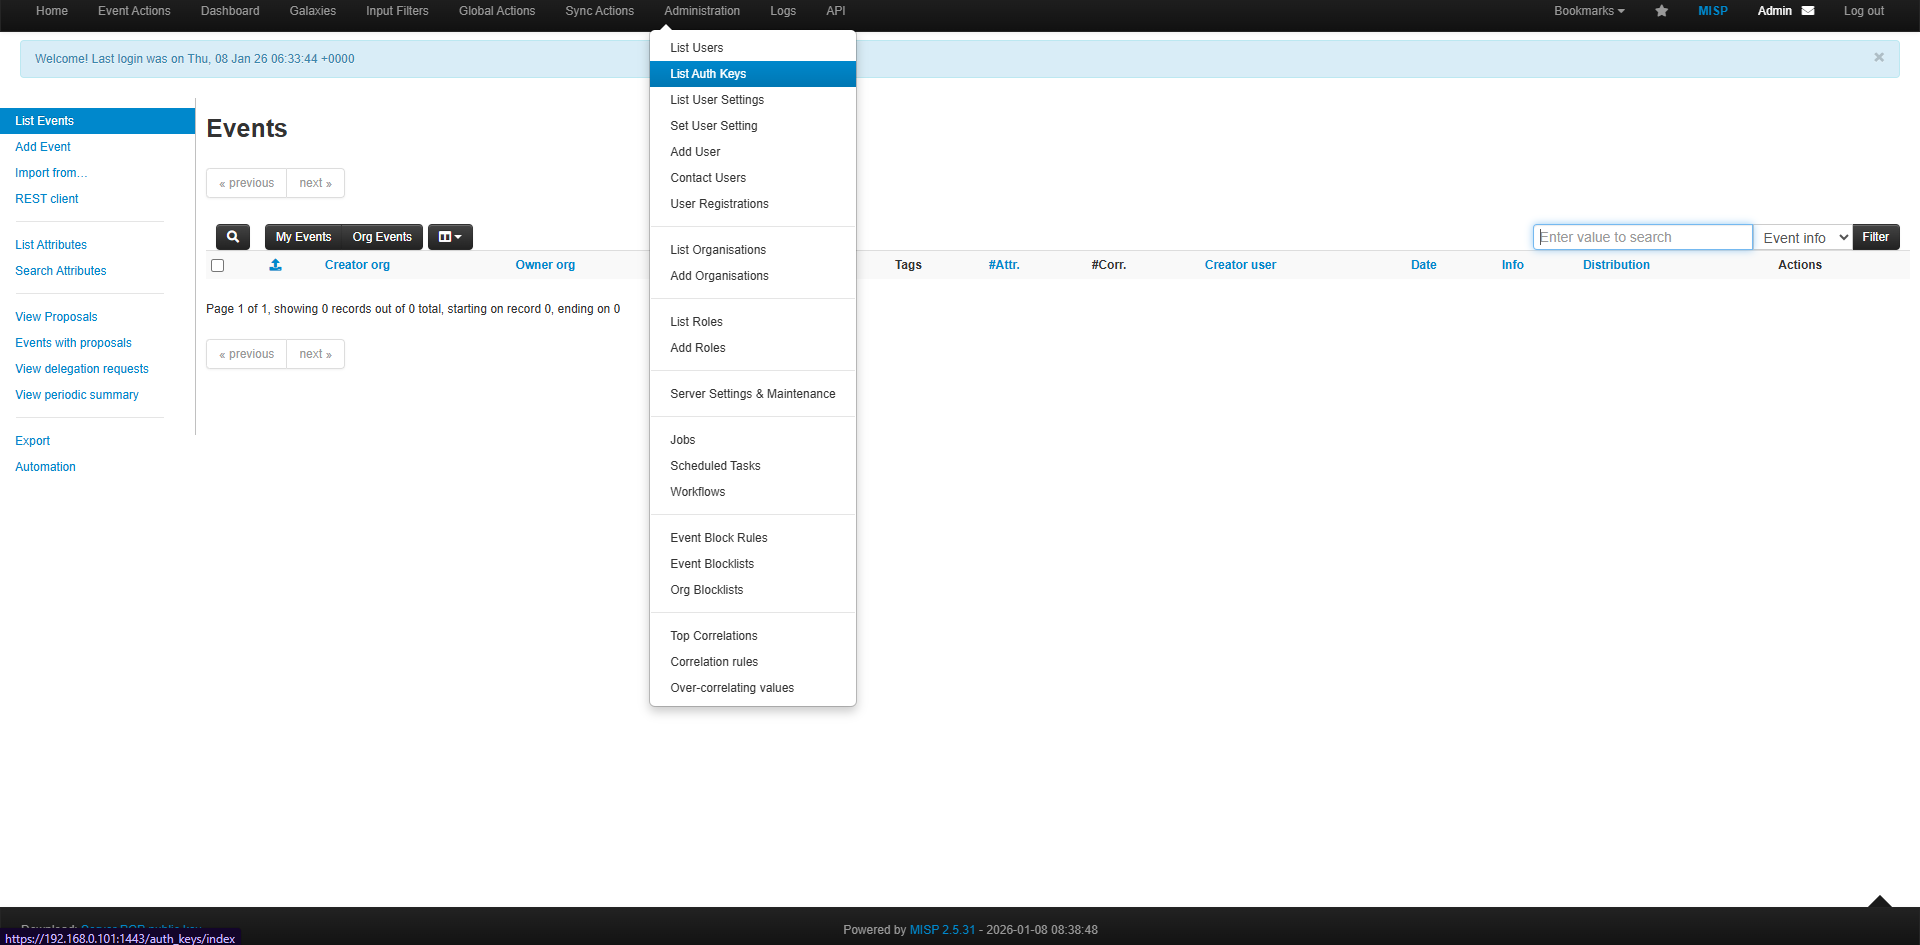
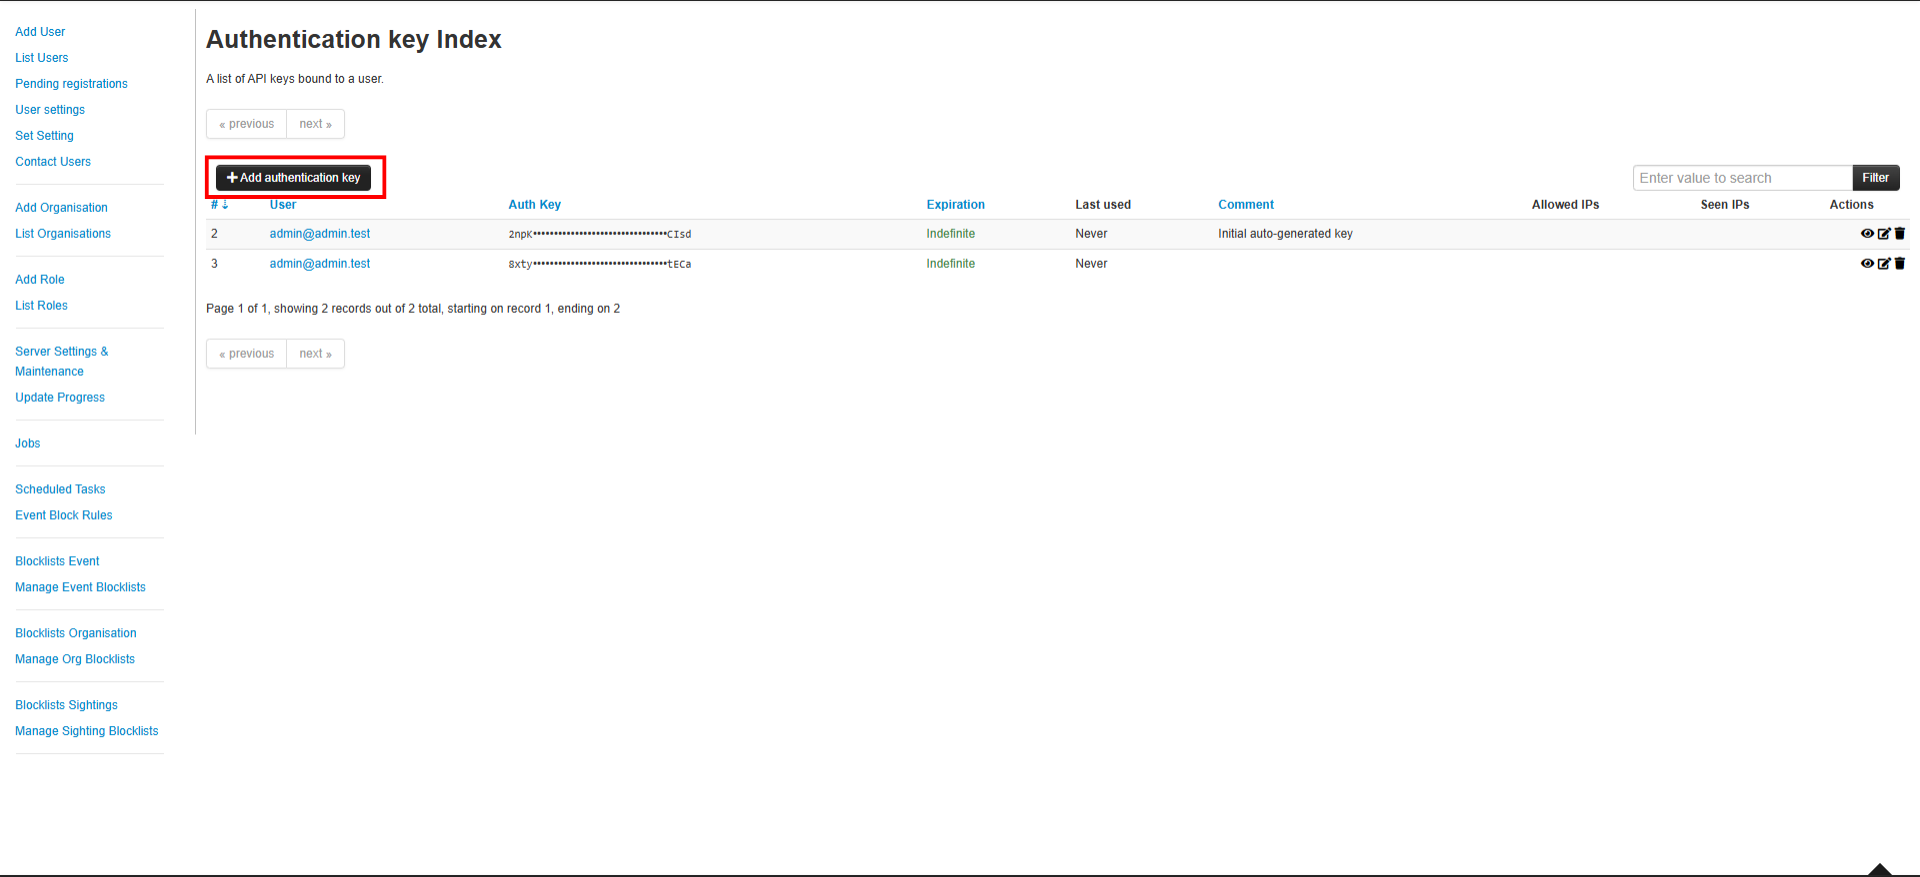
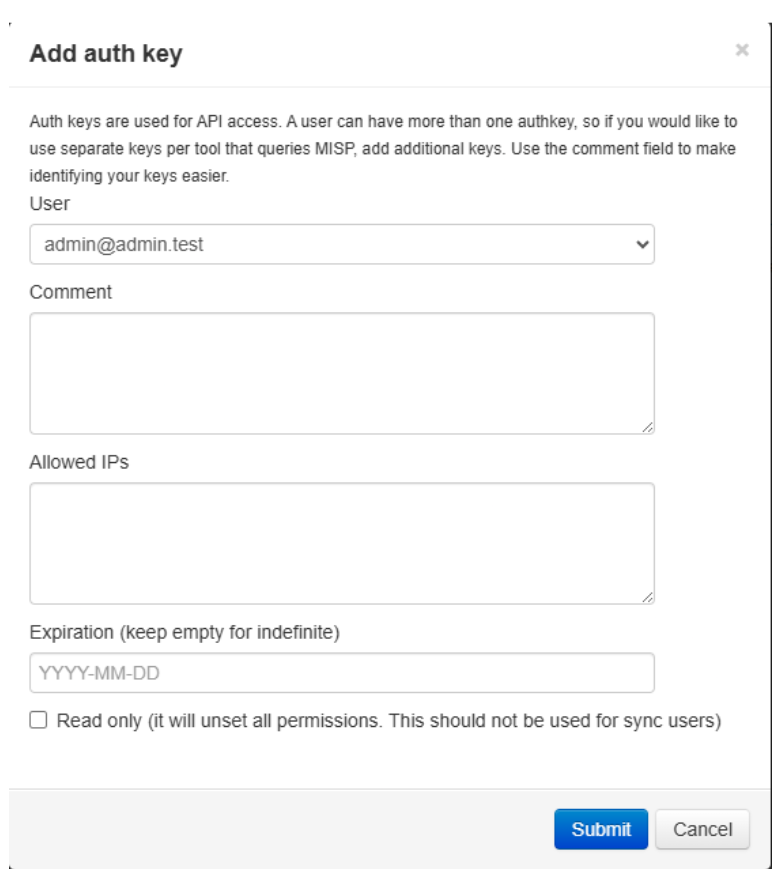
You will then be prompted to configure the MISP integration. MISP Base URL Example prompt:- Log in to the MISP Dashboard
- Go to Administration → List Auth Keys
- Copy an existing key or create a new one
- Paste the key into the terminal

MISP Default Feed Data (JSON)
After configuring the MISP API key, the next step is to add the default MISP feed sources to enable threat intelligence ingestion.Import Default Feeds from JSON
-
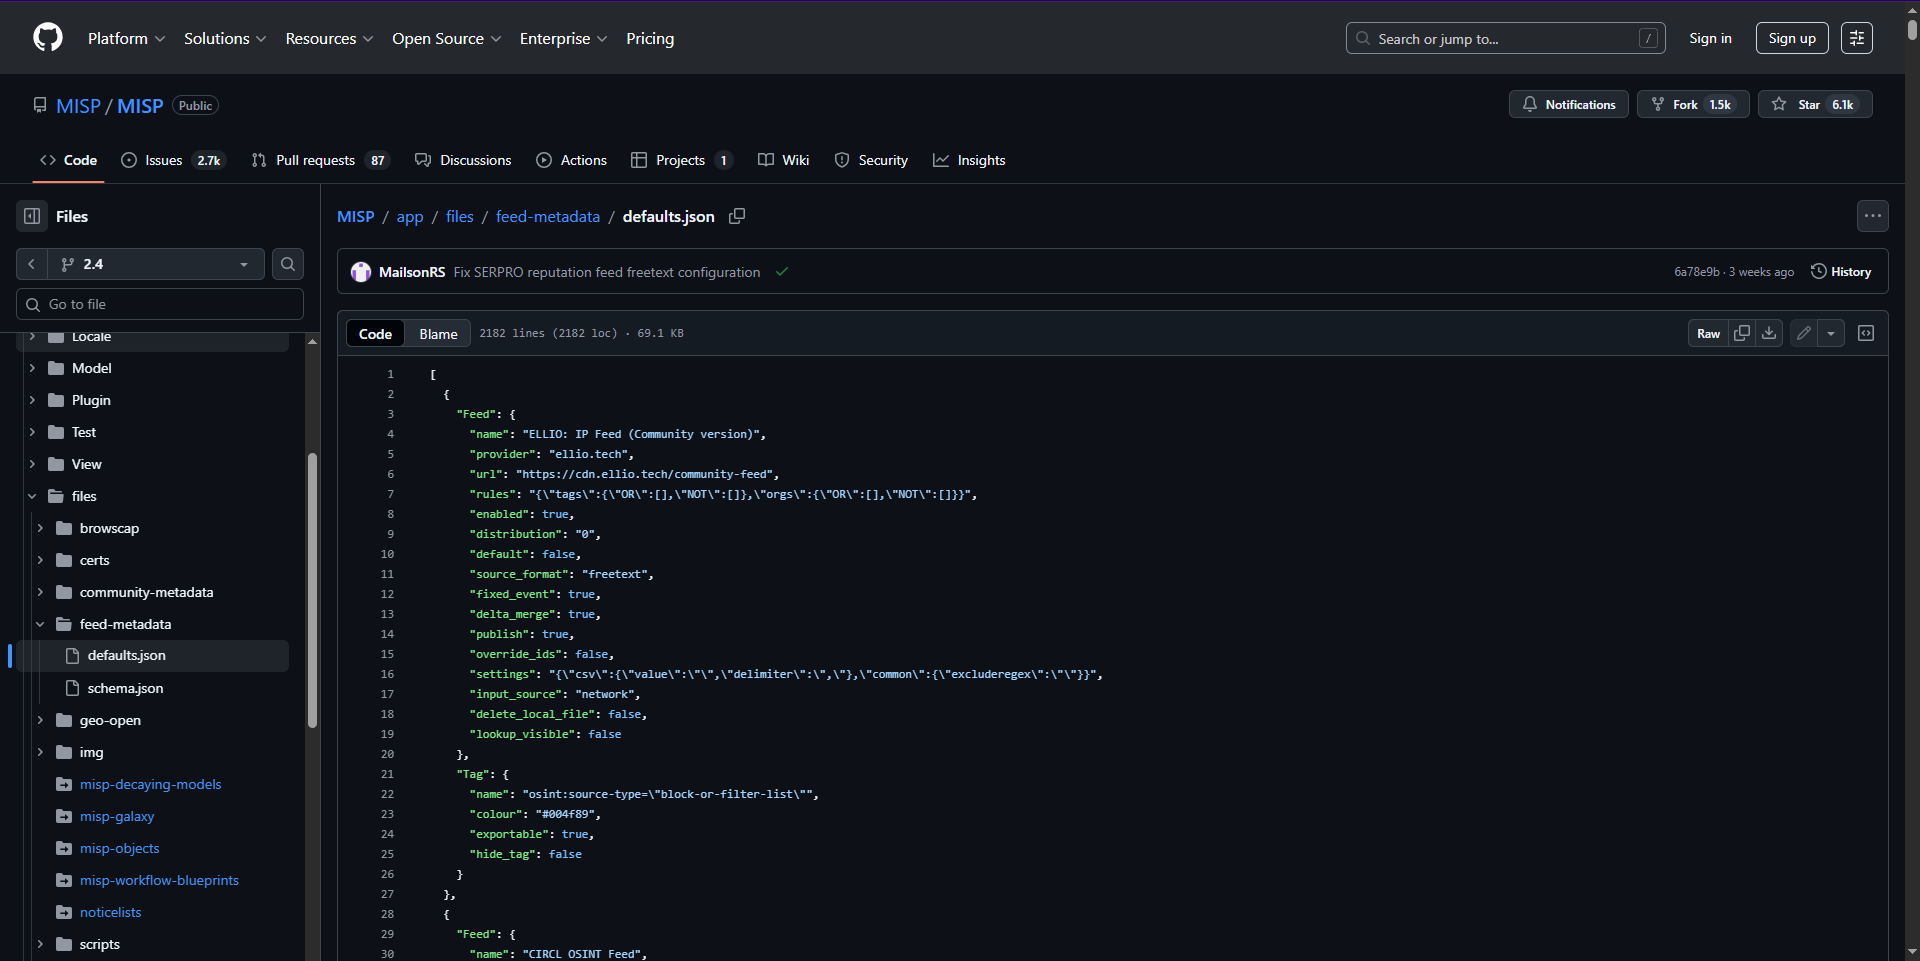
Open the following GitHub URL in your browser:
https://github.com/MISP/MISP/blob/2.4/app/files/feed-metadata/defaults.json - Copy the entire JSON content from the page.
-
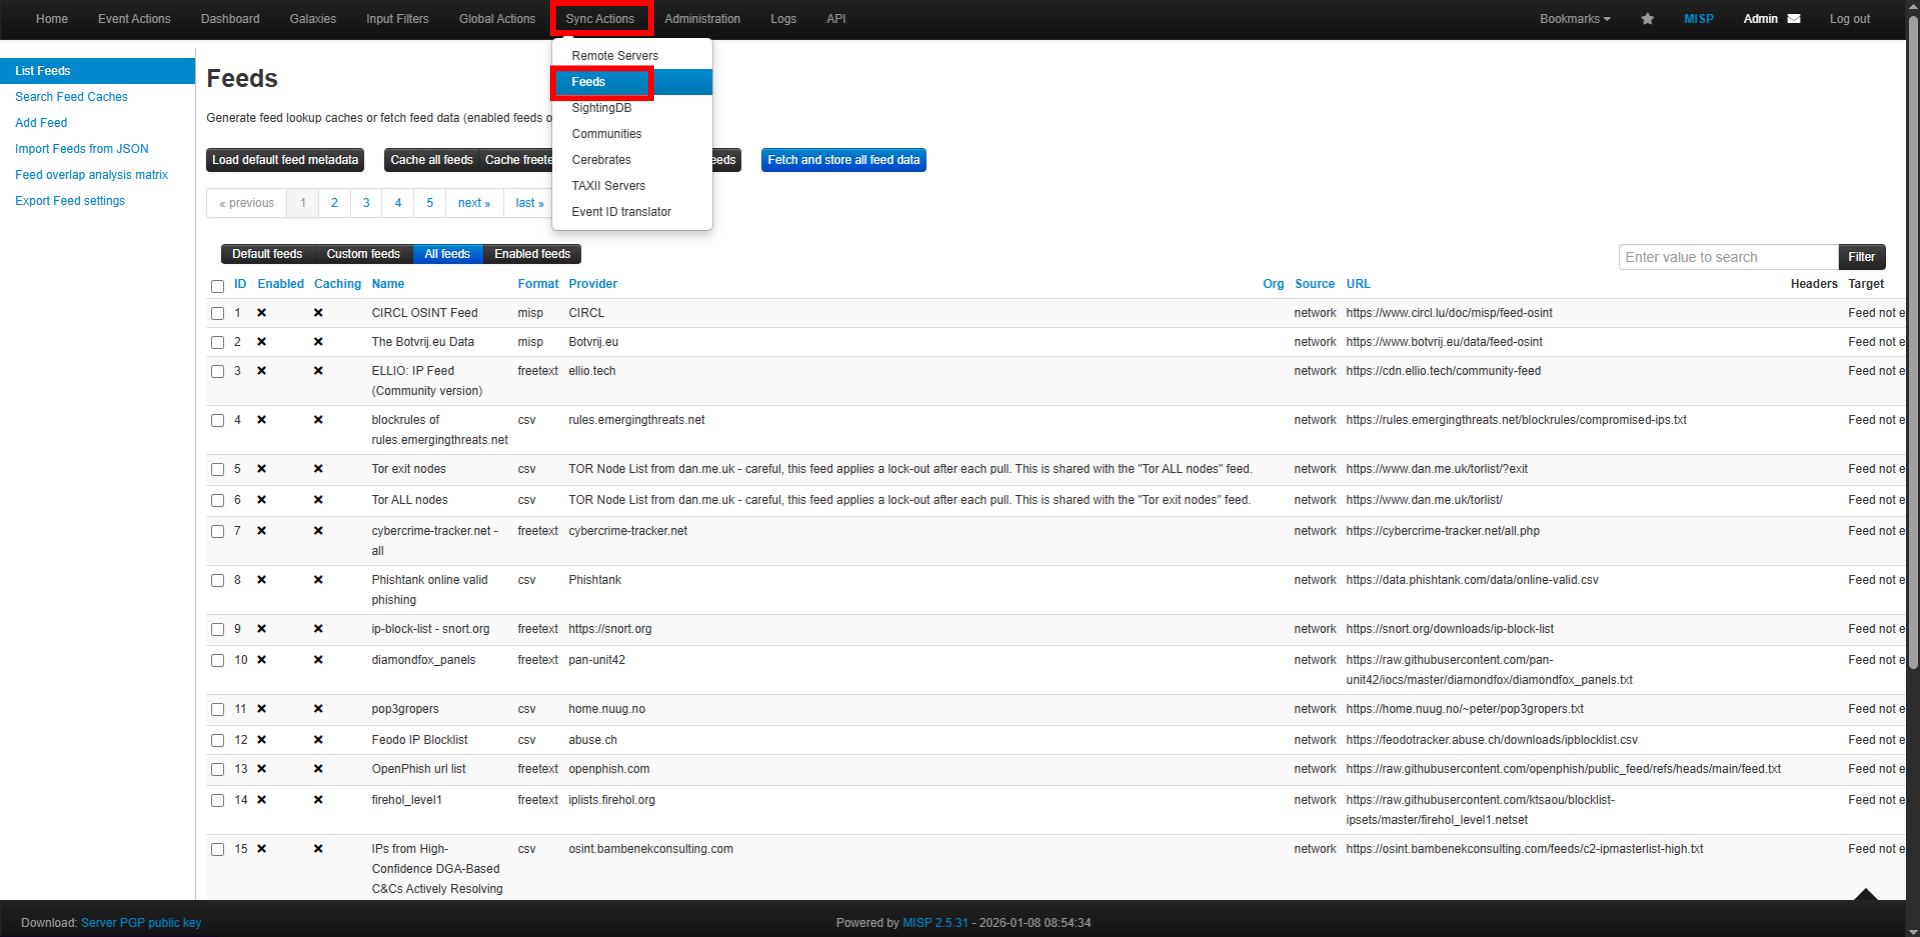
In the MISP Dashboard, navigate to:
- Sync Actions
- Feeds
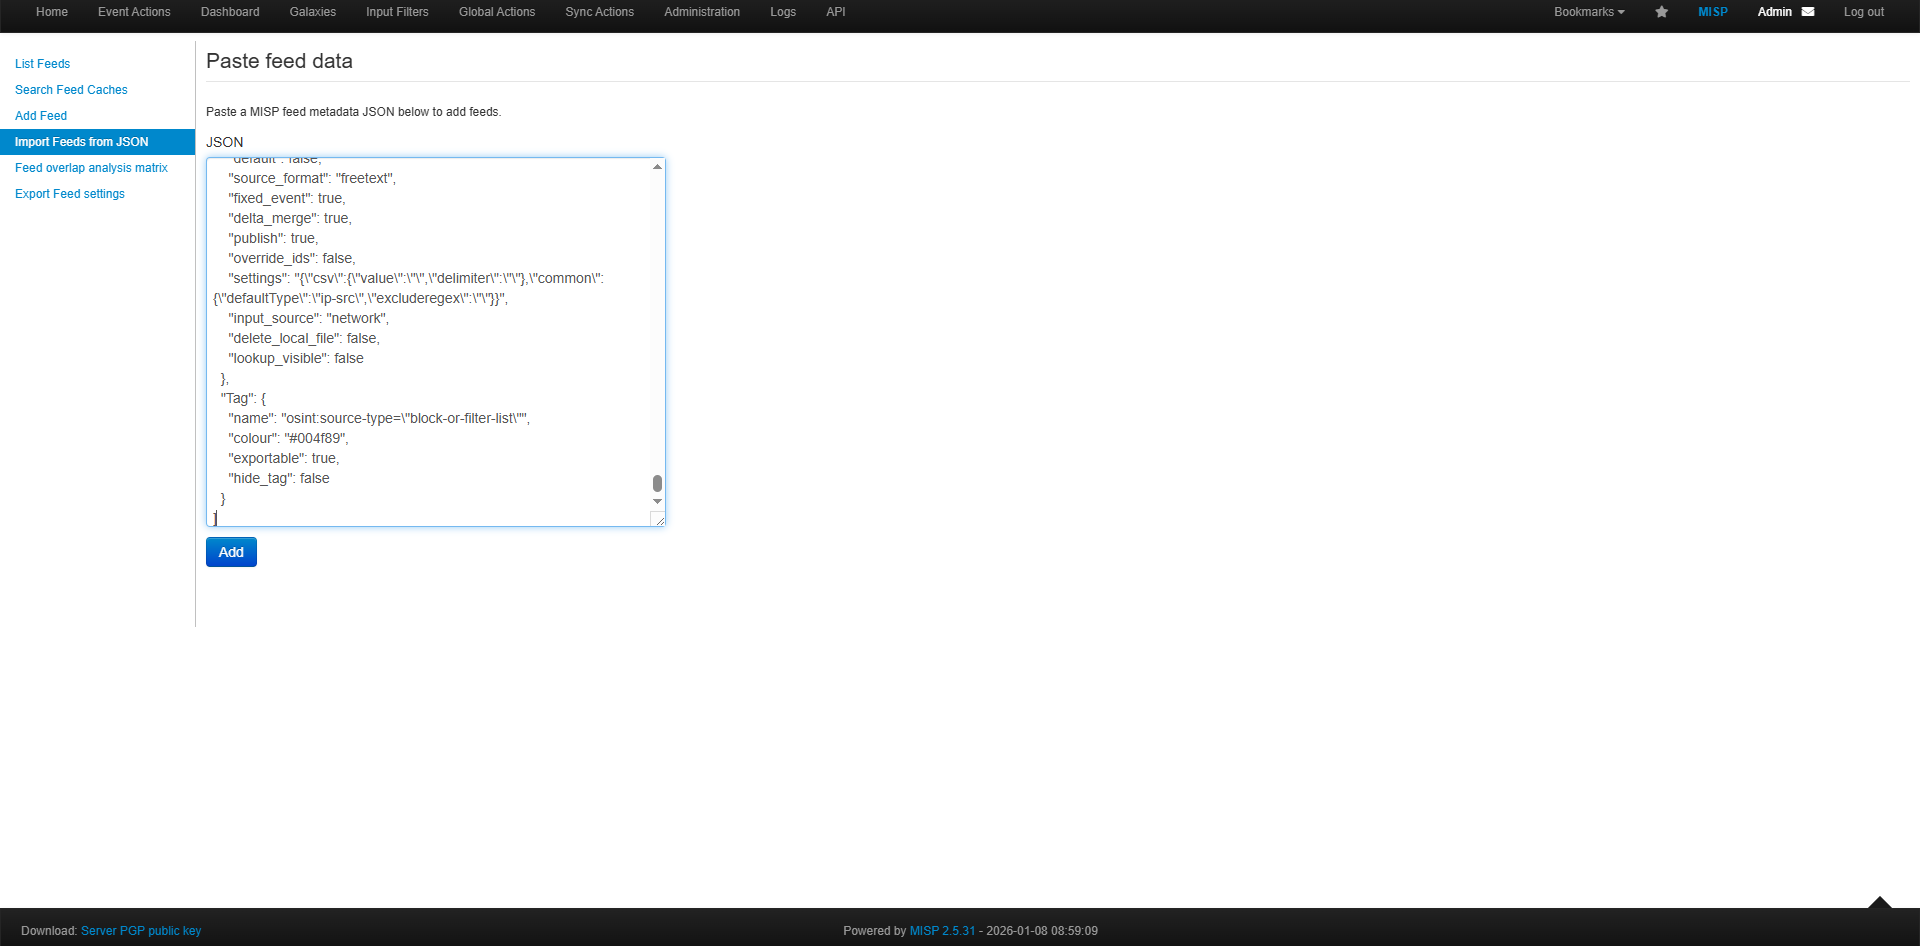
- Import Feeds from JSON
- Paste the copied JSON content into the input field.
- Click Add to import the feed configuration.
Enable and Fetch Feed Data
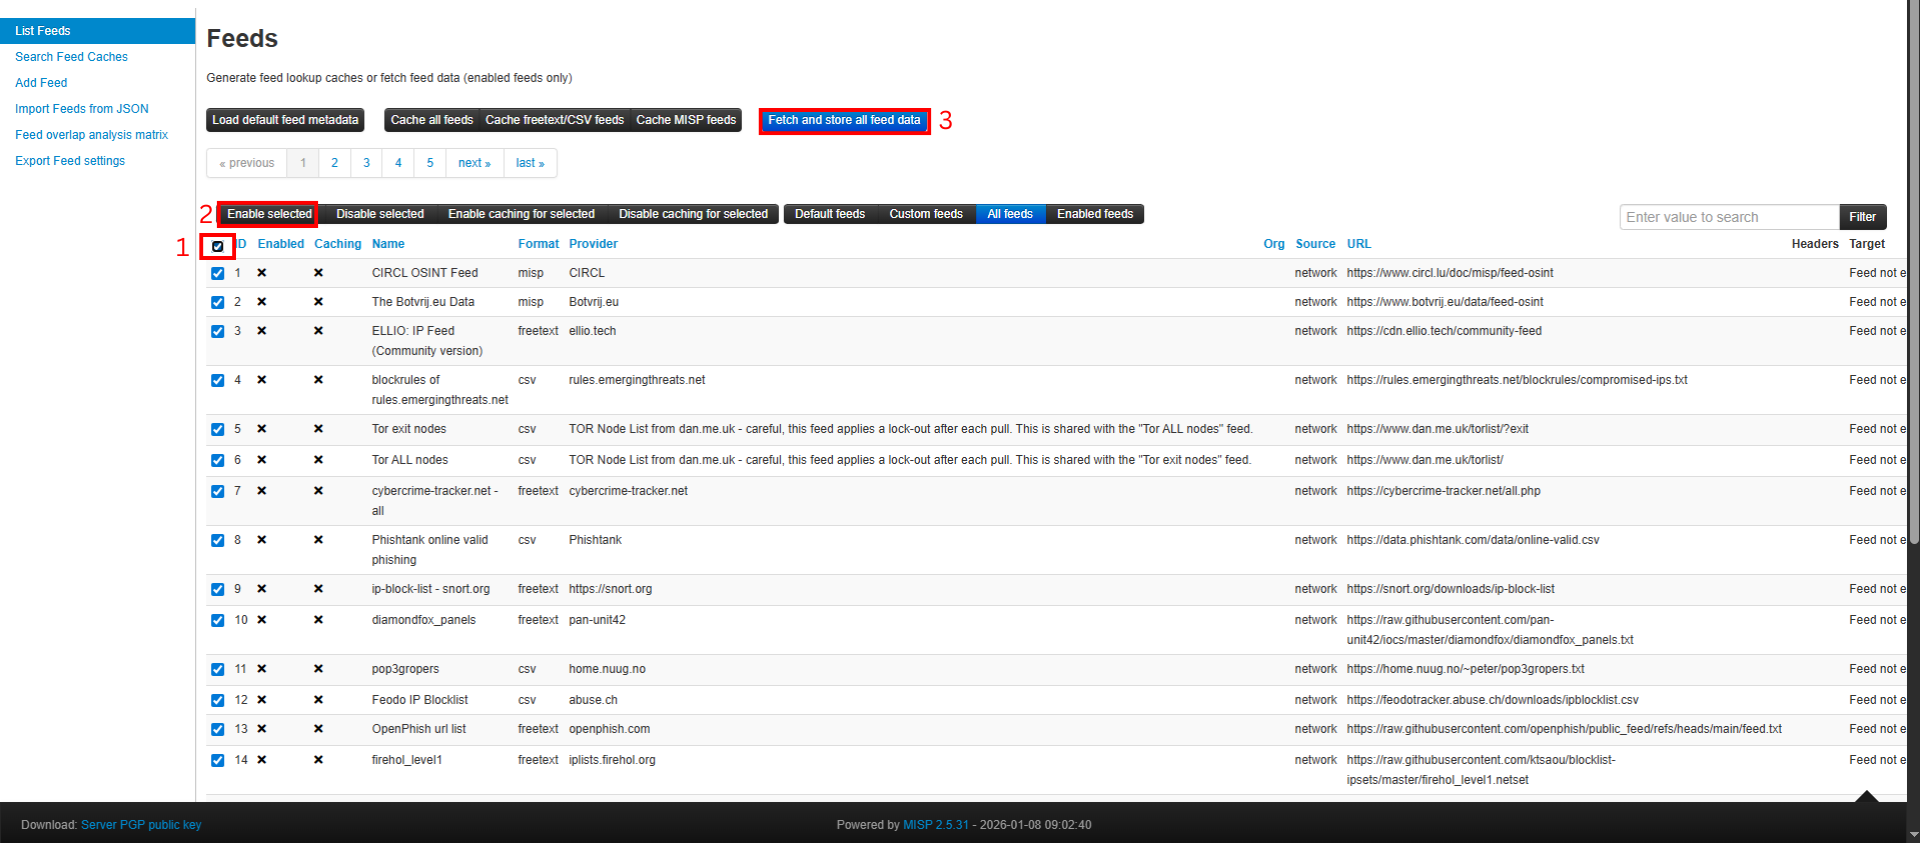
- Go to List Feeds.
- Select Check All to select all available feeds.
- Click Enable Selected to activate the data sources.
- Click Fetch and Store All Feed Data to download threat intelligence data from each feed source.
This process may take several minutes depending on the number of feeds and network conditions.
Viewing Imported Feed Data
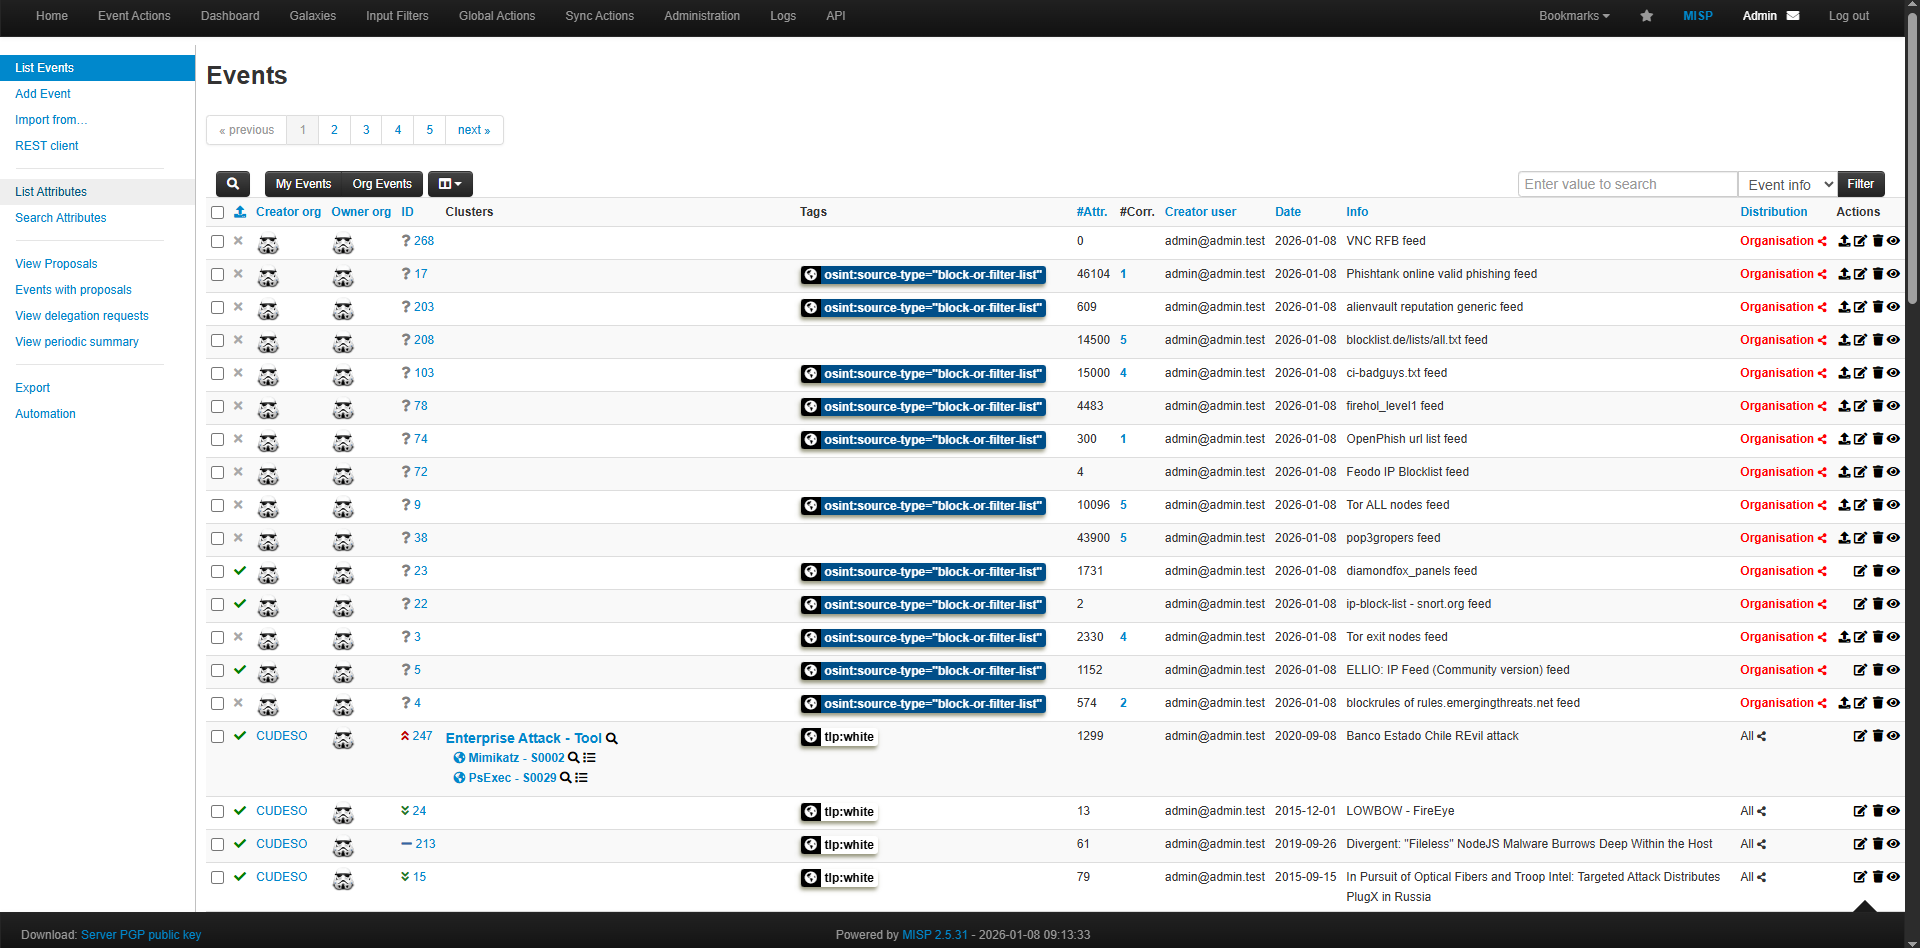
- Retrieved threat intelligence events can be viewed under Event Actions.
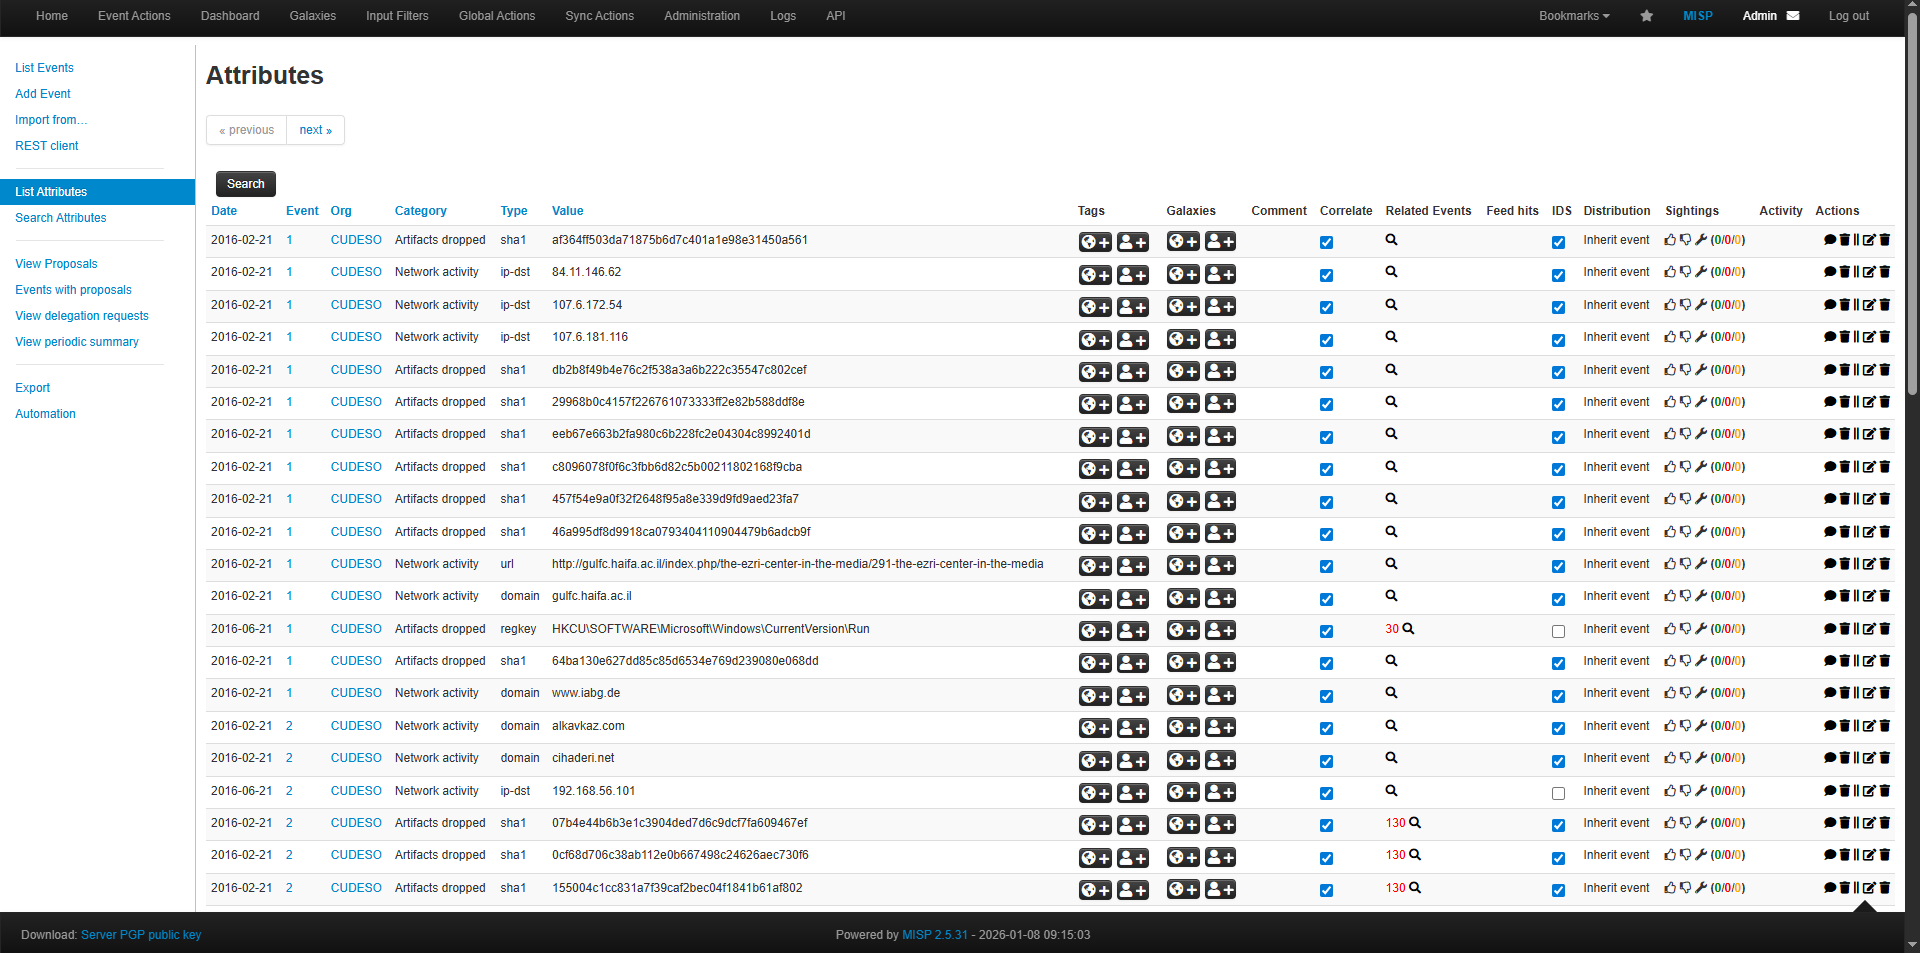
- Attributes generated from each event can be reviewed in List Attributes.
Once this step is completed, MISP will actively provide threat intelligence data that can be consumed by Wazuh for IOC matching and alert enrichment.
Wazuh Dashboard URL
Finally, you will be prompted to enter the Wazuh Dashboard URL. Example prompt:Use Case
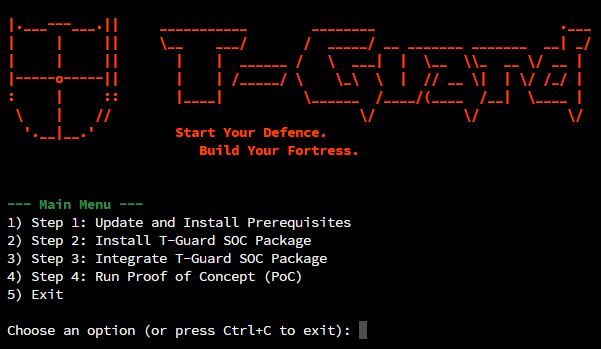
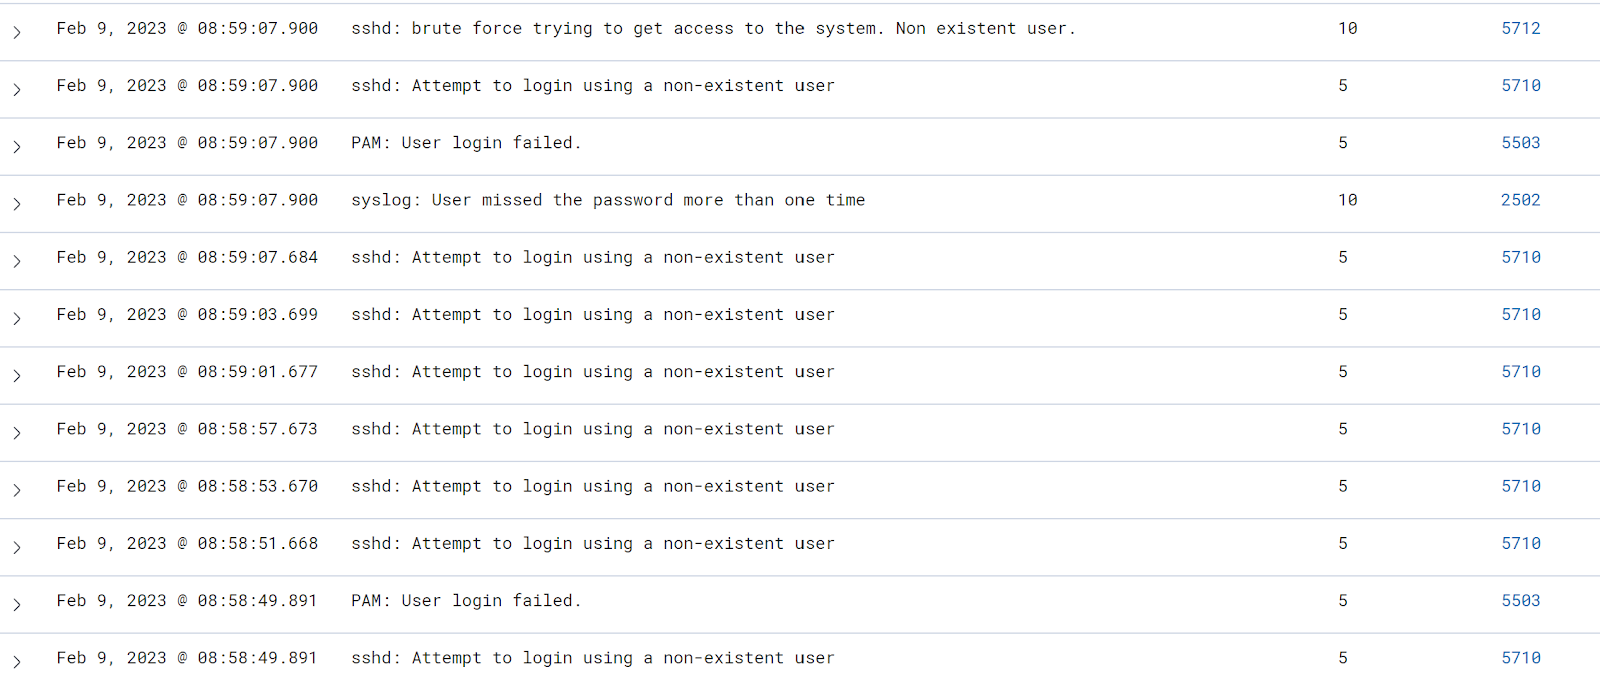
Use Case 1: Brute-Force Simulation
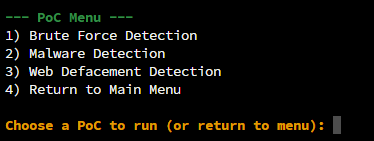

Use Case 2: Malware Detection and Auto-Response
In the PoC Menu, type ‘2’ and press Enter. Open your Wazuh page (https://<your_ip>). It would be appear an event about VirusTotal detect the malware, the deletion of the file, and the activated response regarding to the malware, illustrated below.

Use Case 3: Web Defacement Detection
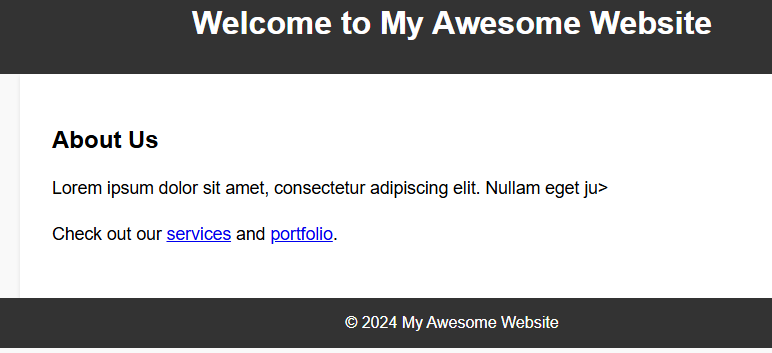
In the PoC Menu, type ‘3’ and press Enter. Before simulate the web defacement, open the given link (http://<your_ip>:3000) in your browser. It will direct you to the example website that created by the script.